Last updated: June 28, 2023
Available with any of the following subscriptions, except where noted:
|
|
To efficiently upload multiple images from one of your website pages, you can specify the URL of the page, and HubSpot will automatically scrape the associated page. Then, you can review and select the images that you'd like to bulk upload to your HubSpot account.
To upload images in bulk for use in your HubSpot content:
- In your HubSpot account, navigate to your blog, email, landing pages, or website pages.
- In the dashboard, click the name of the blog post, email, landing page, or webpage to edit.
- In the left panel, from the Content tab, click and drag an image element into the editor.
- Hover over the image element you inserted and click Select image.
- In the bottom of the right panel, click Add image > From a URL.
- Enter the URL of one of your pages that hosts the images you want to upload.
- Click Preview.
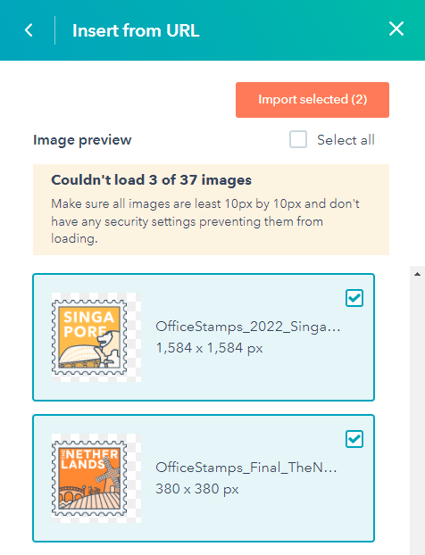
- After HubSpot scrapes the page and detects the images, choose the images to upload:
- To include all images from the page, in the top right, click the Select all checkbox.
- To include a specific image in the import, select the checkbox next to the image preview.
- After selecting your images, click Import selected.
- In the dialog box, read the copyright notice and click Import to confirm that you own or have the license to use the images you selected. After importing, you can use these images in any of your emails, blog posts, landing pages, or website pages.