Last updated: April 23, 2024
Available with any of the following subscriptions, except where noted:
|
|
|
|
|
|
|
|
|
|
You can add a payment link to your website so that your customers can complete payments directly on your site. To add a payment link to your website, you can add the default payments module to a drag and drop page or template or add the payment link embed code to your external website pages. You can also add a payment link to your marketing emails.
If you're a developer, you have the option to add a payment field to your theme or custom module, or create a custom payment module.
Add the default payments module to your page
When you add the default payments module to your page, the payment link will appear as a checkout button that customers can click to then enter their payment details.
- Navigate to your content:
- Website pages:In your HubSpot account, navigate to Content > Website Pages.
- Landing pages:In your HubSpot account, navigate to Content > Landing Pages.
- Blog: In your HubSpot account, navigate to Content > Blog.
- Hover over a page or post and click Edit.
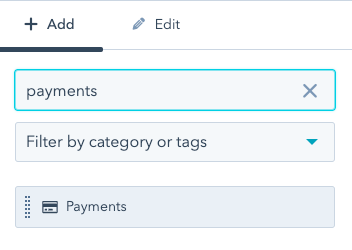
- In the content editor, locate the Common modules section on the Add tab in the sidebar editor.
- Click the payments module and drag it into position on the page.
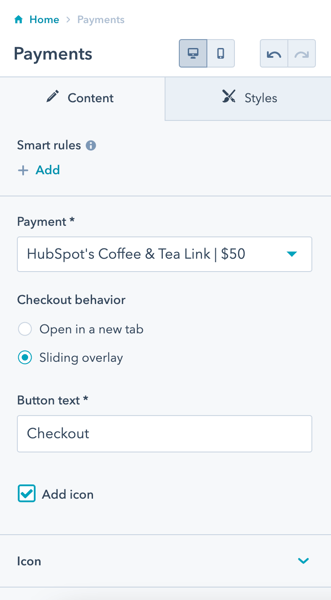
- In the sidebar editor, click the Payment dropdown menu and select the payment link to add to the page.
- To customize the checkout experience, in the Checkout behavior section, select an option:
- Open in a new tab: another tab will open in the customer's browser where they can enter their payment information.
- Sliding overlay: an overlay slides up from the bottom of the customer's screen where they can enter their payment information.
- In the Button text field, edit the text that appears on the payment link button.
- To include an icon on the payment link button, select the Add icon checkbox. To select a different icon, click to expand the Icone diting options.
- In the top right, click Update or Publish to set your changes live.
In the design manager, you can also add the default payments module to the page template.
Add the embed code to an external page or custom module
You can add the payment link embed code to your external website, or create a payment module in the design manager and add the embed code to the module. When you embed the payment link, the checkout form will appear directly on your page.
To copy the embed code:
- In your HubSpot account, navigate to Commerce > Payment Links.
- Hover over the link and click Actions, then select Embed.
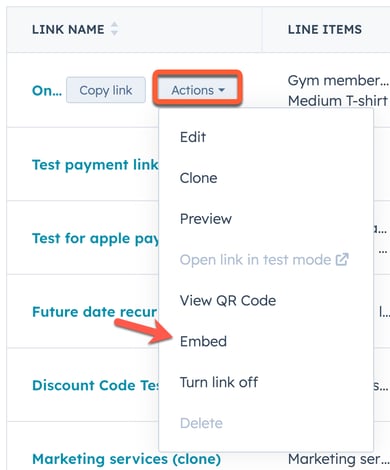
- In the dialog box, click Copy code.
With the embed code copied, you can add it directly to your site. Or, if you're a developer, you can either create new module for every link or create a dynamic module in the HubSpot design manager. Learn more about creating a payment link module.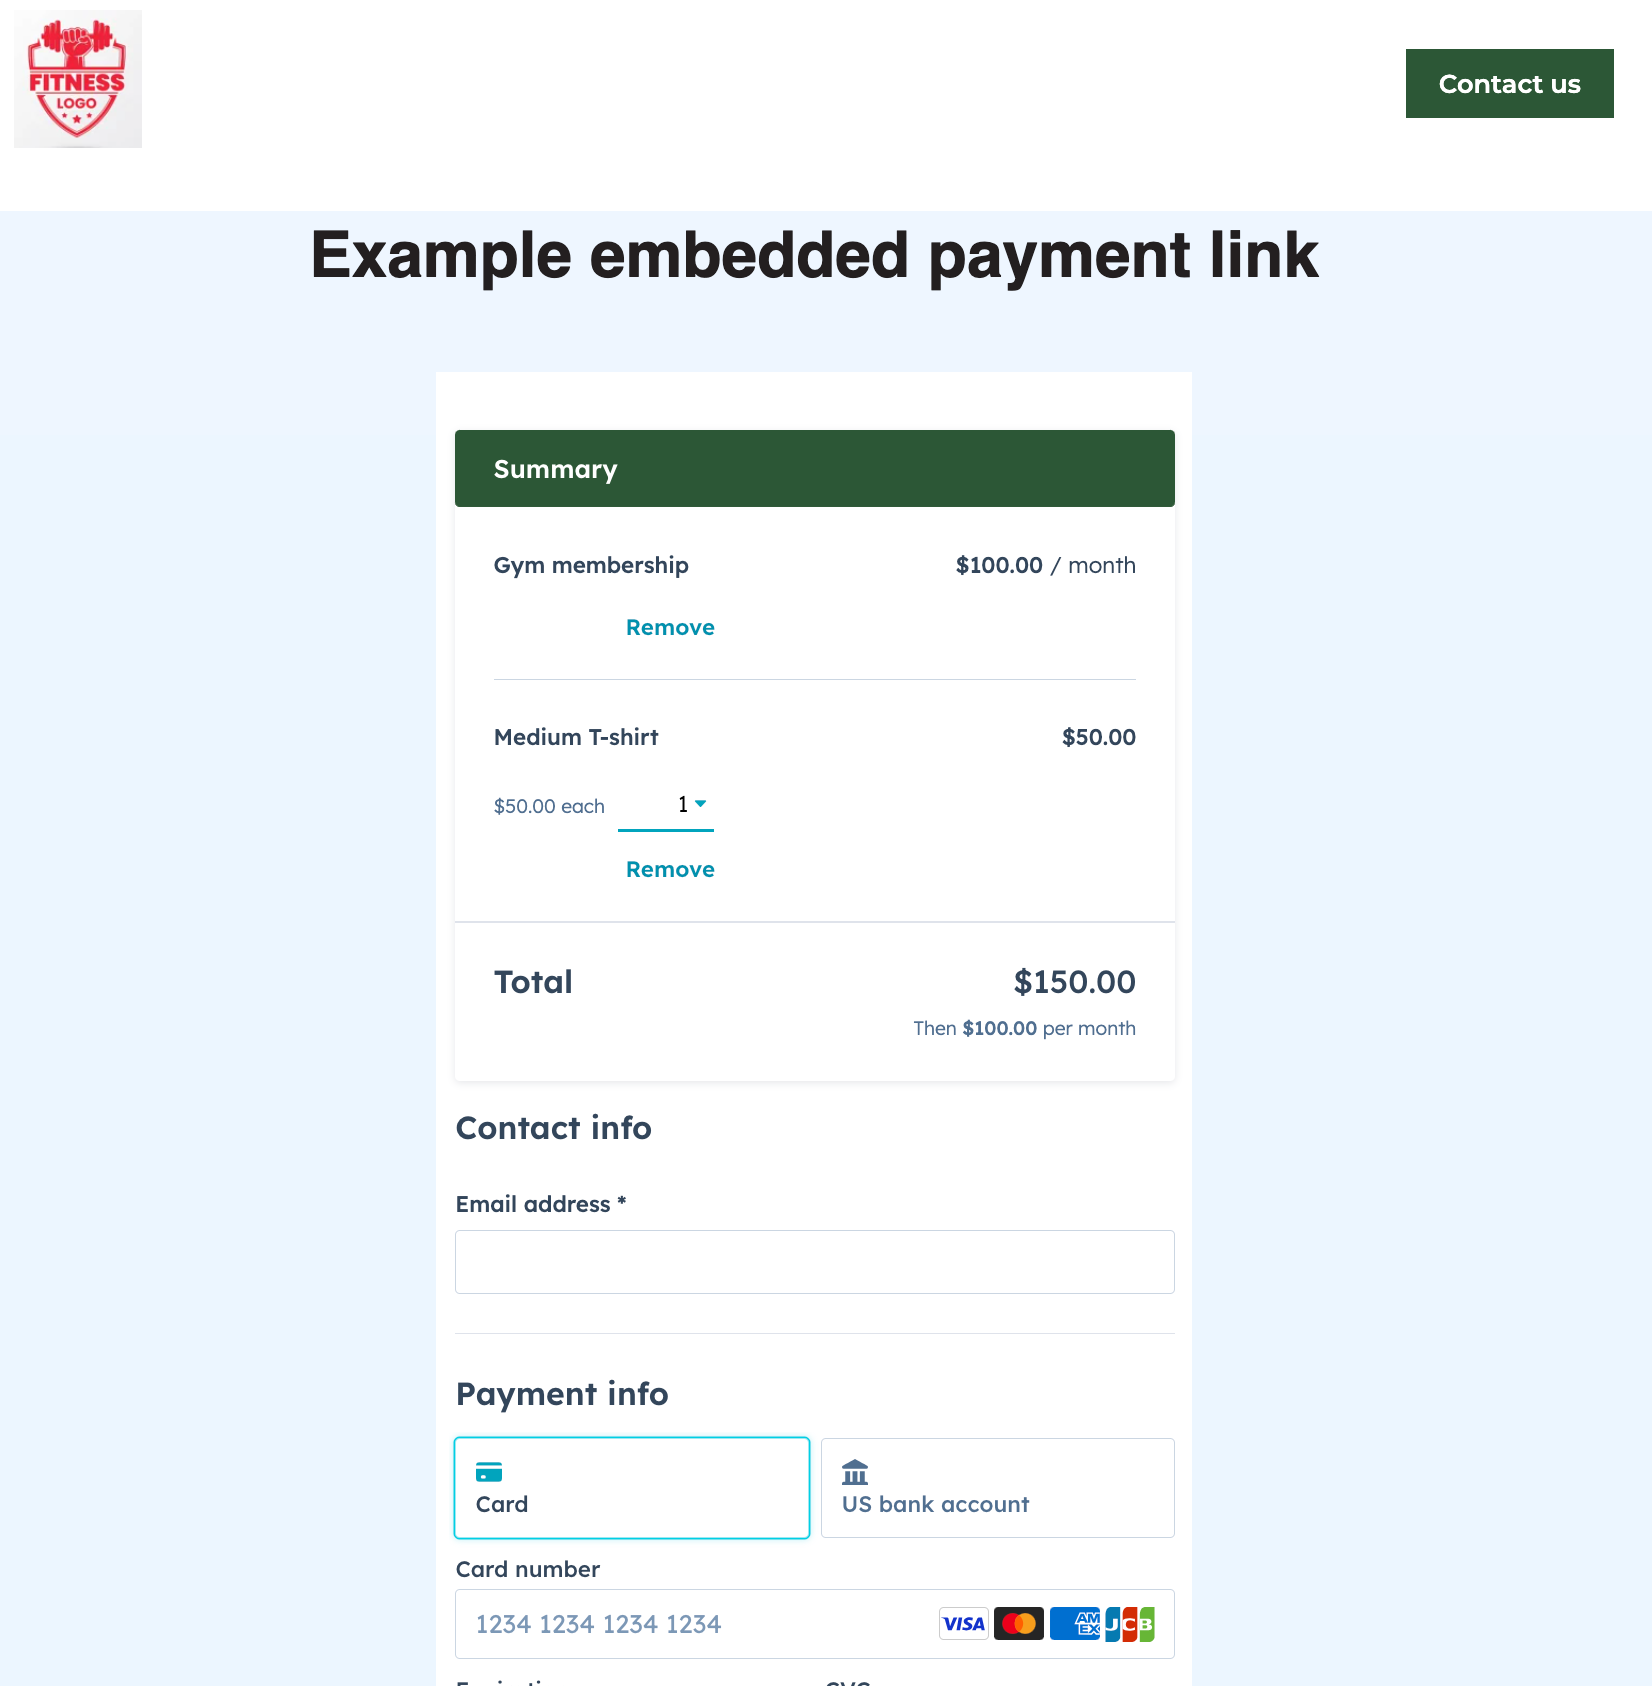
Please note: creating modules requires knowledge of HTML, CSS, HubL, and the HubSpot design manager. HubSpot recommends working with a designer to create coded modules.
Add a payment link to marketing emails
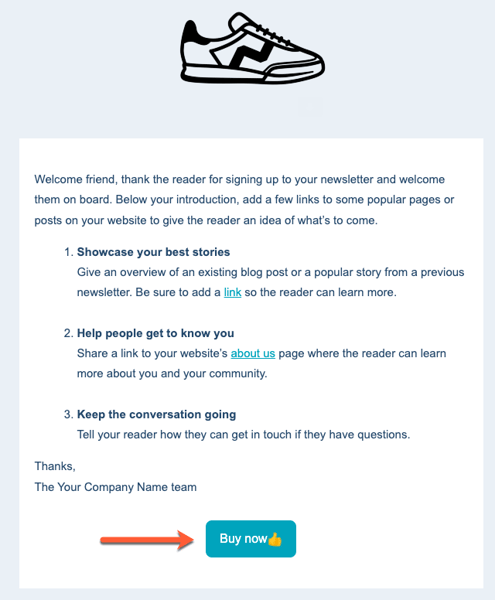
You can add a payment module to your marketing emails. For example, when planning an event, you can include a payment link that allows a buyer to purchase a ticket directly from the email.
- In your HubSpot account, navigate to Marketing > Marketing Email.
- Hover over an existing email draft and click Edit, or click Create email to create a new email.
- In the email editor, on the Content tab in the left panel, click and drag the Payment module into the email template.
- Click the Payments dropdown menu and select a link.
- In the button text field, edit the text that appears. To insert emojis into your text field, click the emoji icon.
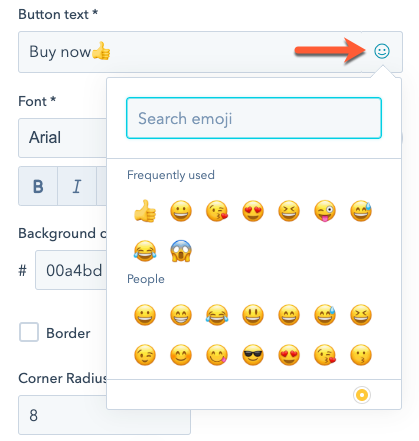
- Use the styling tools to customize the text font, button color, and size.
- Finish setting up and sending your email.
When a contact clicks the button, they'll be brought directly to the checkout page. Learn more about what happens in HubSpot after a payment is made.