
Last updated: October 30, 2023
Available with any of the following subscriptions, except where noted:
|
|
You can add images to rich text modules or image modules in HubSpot content. Rich text modules support multiple types of content (images, text, CTAs, etc.), while each image module can only contain a single image.
Please note: text modules and custom rich text modules in the drag and drop email editor cannot contain images.
Add images
-
Navigate to your content:
- Website Pages: In your HubSpot account, navigate to Content > Website Pages.
- Landing Pages: In your HubSpot account, navigate to Content > Landing Pages.
- Blog: In your HubSpot account, navigate to Content > Blog.
- Knowledge Base: In your HubSpot account, navigate to Content > Knowledge Base.
-
- Email: In your HubSpot account, navigate to Marketing > Marketing Email.
- Hover over your content and click Edit.
Please note: only .png, .ico, .bmp, .jpg, and .gif image files can be added to marketing emails
- Insert an image:
- To add an image to a rich text module, click the rich text module, then click the image icon on the rich text toolbar.
- To add an image to an image module, click the image module, then click Replace in the sidebar editor above the placeholder image.
- Select an image:
- To insert an existing image, click the image in the right panel.
-
- To upload a new image from your computer or via file URL, click Add image in the right panel. To create a new image with Canva's editing tools, click Design with Canva. Then click the image to insert it.
Before inserting an image, you can optimize the image for loading time or resolution by clicking Details on the image in the right panel. Then click the Image optimization dropdown menu and select an optimization option:
-
- High: the image will load at higher resolution, but with an increased load time.
- Default: the image will optimize for both resolution and load time.
- Low: the image will load at lower resolution, but with a decreased load time. Learn more about optimizing pages for load time in our developer documentation.
Edit images
Once you've added an image to your content, you can edit its size, add alt text, add a link, or set its loading behavior.
Edit an image in a rich text module
-
Navigate to your content:
- Website Pages: In your HubSpot account, navigate to Content > Website Pages.
- Landing Pages: In your HubSpot account, navigate to Content > Landing Pages.
- Blog: In your HubSpot account, navigate to Content > Blog.
- Knowledge Base: In your HubSpot account, navigate to Content > Knowledge Base.
- Email: In your HubSpot account, navigate to Marketing > Marketing Email.
- Hover over your content and click Edit.
- In the content editor, click the image to display the image editing toolbar.
- Edit the image:
- To adjust how text wraps around the image, click the alignment icons.
-
- To adjust the image's size, click the width and height arrows or enter a pixel value.
- To adjust the padding around your image, click the Spacing dropdown menu, then enter pixel values around the edges of the image icon.
- To remove an image from a rich text module, click the image, then click the trash icon.
- To replace an image in a rich text module, click the image, then click the replace icon and add a new image.
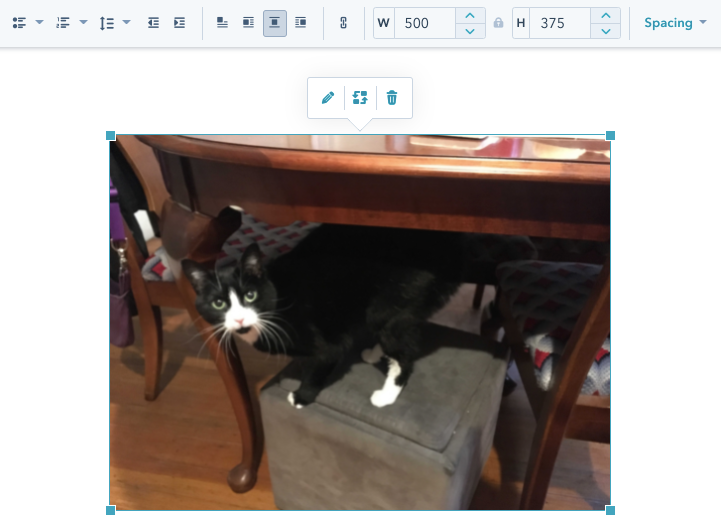
- To link the image, add alt text, or set loading behavior, click the image, then click the pencil icon
- To add a link to the image, click the Link to dropdown menu in the pop-up box and select a link category. In the field below, enter the link's destination. Learn more about the different types of links.
-
- In the Alt text field, enter text to describe to search engines and screen readers what the image is. You can also add alt text to images in the files tool. Adding alt text will improve the accessibility and SEO of your site. Learn more about website accessibility in our developer documentation.
Please note: adding alt text to an image does not add title text. Alt text affects search engine rankings and accessibility, while title text appears when a visitor hovers over the image.
- To set image loading behavior and customize the image link type for search engines, click Advanced.
- To set image loading behavior, click the Image loading dropdown menu and select an option:
- Lazy: the image will only load when the visitor reaches that part of the page. This decreases the time your page requires to load and improves SEO. By default, images will load with this setting.
- To set image loading behavior, click the Image loading dropdown menu and select an option:
-
-
- Browser default: the image's loading behavior is determined by the visitor's browser settings.
- Eager: the image will load as soon as the page loads.
-
-
- To customize the image link type, in the Link type section, select one or more attributes:
- Regular: this link isn't sponsored.
- No follow: this link isn't associated with your website.
- Sponsored: this link is a sponsored link or an ad.
- User generated content: this link leads to user-generated content, such as a blog comment or a forum discussion.
- To customize the image link type, in the Link type section, select one or more attributes:
- Click Apply to apply your changes to the image.
-
To take your changes live, click Publish or Update in the top right, then click Publish or Update in the dialog box.
Edit an image in an image module
-
Navigate to your content:
- Website Pages: In your HubSpot account, navigate to Content > Website Pages.
- Landing Pages: In your HubSpot account, navigate to Content > Landing Pages.
- Blog: In your HubSpot account, navigate to Content > Blog.
- Email: In your HubSpot account, navigate to Marketing > Marketing Email.
- Hover over your content and click Edit.
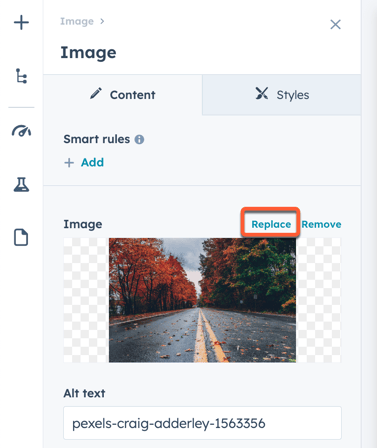
- In the content editor, click the image module.
- To remove the current image, click Remove in the Image section of the sidebar editor. This will remove the current image from the image module, but will not remove the module from the page.
- To replace the current image, click Replace in the Image section of the sidebar editor, then add a new image.
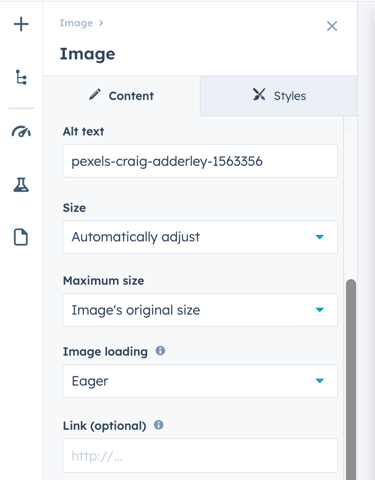
- In the Alt text field, enter text to describe to search engines and screen readers what the image is. You can also add alt text to images in the files tool. Adding alt text will improve the accessibility and SEO of your site. Learn more about website accessibility in our developer documentation.
Please note: adding alt text to an image does not add title text. Alt text affects search engine rankings and accessibility, while title text appears when a visitor hovers over the image.
- To set the image's size on different devices, click the Size dropdown menu and select an option:
- Automatically adjust: the image will scale in size to fit the device it's viewed on.
- Exact height and width: the image will display as the same size on all devices.
- To set the a limit on the image's size, click the Maximum size dropdown menu and select an option:
- Image's original size: the image will never appear larger than its original size.
- Custom: the image will never appear larger than a specific width and height set in the width and height fields.
- To set image loading behavior, click the Image loading dropdown menu and select an option:
- Browser default: the image's loading behavior is determined by the visitor's browser settings.
-
- Lazy: the image will only load when the visitor reaches that part of the page. This decreases the time your page requires to load and improves SEO. By default, images will load with this setting.
-
- Eager: the image loads as soon as possible.
- To add a link to the image, enter a destination URL in the Link (optional) field. Select the Open link in new tab checkbox to direct the visitor to the destination URL in a new browser tab.
-
To take your changes live, click Publish or Update in the top right.
