
Last updated: May 7, 2024
Available with any of the following subscriptions, except where noted:
|
|
You can use AI assistants to generate blog posts optimized for SEO by inputting prompts.
Accounts with a Content Hub Professional or Enterprise subscription will have access to additional tools, such as Semrush data and image generation, as well as the use of GPT-4.
Please note: please avoid sharing any sensitive information in your prompts and review the AI-generated outputs for biases and inaccuracies. To provide and improve the product, HubSpot logs and stores your prompts, generated outputs, and usage metrics when you use our AI tools. HubSpot shares your prompts with AI Service Providers in order to enable your use of this tool, and AI Service Providers access your prompts and generated output for content moderation purposes. Your prompts will be attributed to you. By using this tool, you agree to comply with our AI Service Providers’ policies.
Generate blog posts using basic features
- In your HubSpot account, navigate to Content > Blog.
- In the top right, click Generate blog post.
- In the dialog box, enter a description of the blog content you would like to generate in the Blog content or idea field.
- If you have multiple blogs, click the Select which blog to save to dropdown menu and select a blog. Titles, keywords, and blog post content will be generated in the blog's language. Learn more about working with multi-language blogs.
- Click Next.
- On the next page, you can manage the title options for your blog post:
- To generate a new title for a listed SEO keyword, click Generate new title under the title using that keyword.
- To edit a title, click the edit icon next to it.
- Select a title, then click Next.
Please note: titles and keywords that have already appeared on your blog will not be listed.

- Edit the title and description.
- In the Paragraph headers section, you can manage the headings for the post:
- To generate a new heading, click the refresh icon next to the heading.
- To delete a heading, click the X next to the heading.
- To reorder headings, click a heading, then drag it into the desired position.
- In the bottom right, click Generate blog post.
-
The author for the blog post will be set automatically according to the following:
- If there are no authors in your account, the current user will be created as the author of the post.
- If there is only one author in your account, that author will be set as the author of the post.
- If there is an author in the account whose email matches that of the current user, that author will be set as the author of the post.
- Otherwise, the author field will be left blank.
- In the content editor, edit the blog post for voice, content, and accuracy.
- In the top right, click Publish to take the post live.
Generate blog posts using custom features (Content Hub Professional and Enterprise only)
- In your HubSpot account, navigate to Content > Blog.
- In the top right, click Generate blog post.
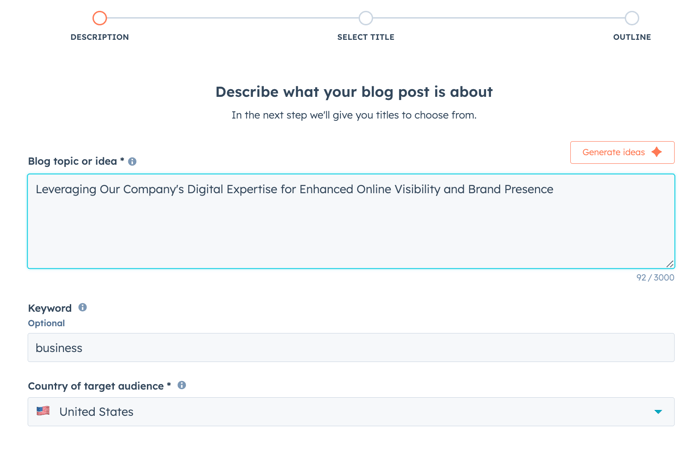
- In the dialog box, enter a description of the blog content you would like to generate in the Blog content or idea field.
- To get a description personalized for your blog:
- Click Generate idea in the top right.
-
- By default, the AI assistants will consult the default domain for your blog and analyze the domain's associated company and industry based on third party data.
- If a default domain for your blog hasn't been set, the AI assistants will consult the company name and domain set in your account default settings.
- To design the blog post to rank for a specific SEO keyword, enter the keyword in the Keyword field.
- Click the Select country of target audience dropdown menu and select a country. You will be shown SEO data for visitors from that country.
- If you have multiple blogs, click the Select which blog to save to dropdown menu and select a blog. Titles, keywords, and blog post content will be generated in the blog's language. Learn more about working with multi-language blogs.
- In the bottom right, click Next.
- Review the list of titles and SEO keywords based on your prompt, along with the following metrics:
- MSV: Monthly Search Volume, the number of times per month users searched for this term on Google.
- Difficulty to rank: the difficulty to rank organically on search engine results pages for that keyword. A higher number indicates greater difficulty ranking well in search results.
- Keyword intent: the general goal of the person performing the search. The following keyword intents may appear:
- Navigational: find a specific page.
- Informational: learn more about a topic.
- Commercial: research products before making a purchase.
- Transactional: complete a specific action, usually a purchase.
Please note: titles and keywords that have already appeared on your blog will not be listed.
- To generate a variation of a specific title, click Generate more under that title.
- To edit a title, click the edit icon next to it.
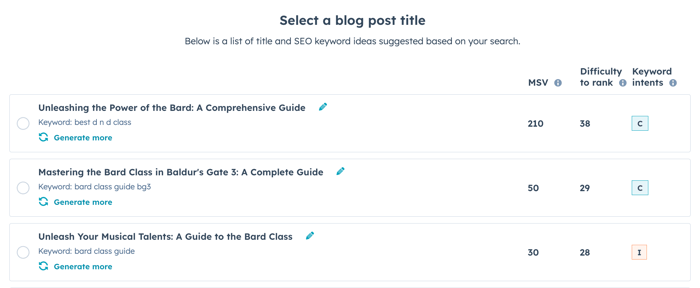
- Select a title, then click Next.
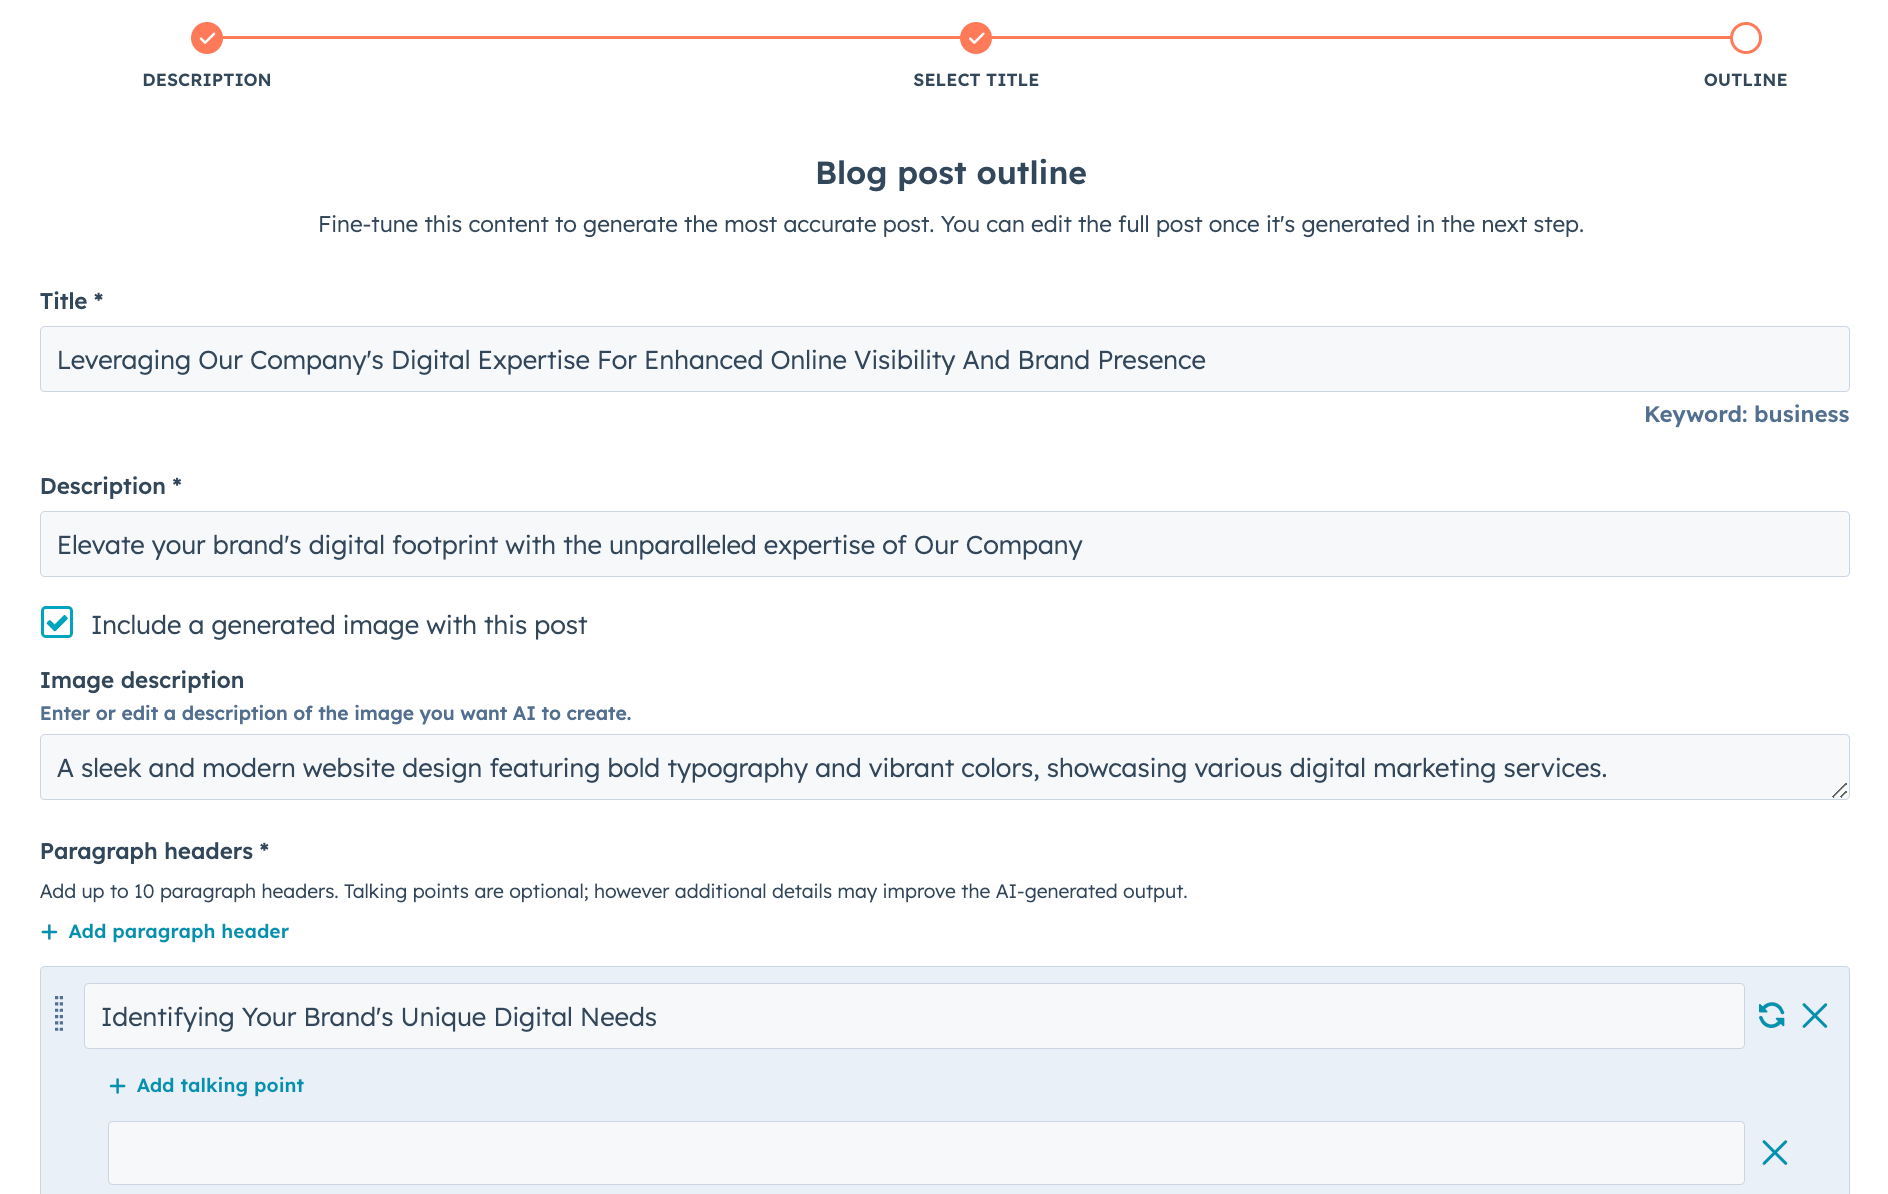
- Edit the title and description.
- By default, a featured image will be generated for the blog post. Edit the description in the Image description field, or clear the Use a generated image with this post checkbox to skip generating an image.
- In the Paragraph headers section, you can manage the headings for the post:
- To generate a new heading, click the refresh icon next to the heading.
-
- To reorder headings, click a heading, then drag it into the desired position.
- To add more specific information to a paragraph, click Add talking point under a heading, then enter a talking point. You can repeat this process multiple times.
- To delete a heading or talking point, click X next to it.
- In the bottom right, click Generate blog post. If you have a brand voice set up, the post will be generated using your brand voice.
-
The author for the blog post will be set automatically according to the following:
- If there are no authors in your account, the current user will be created as the author of the post.
- If there is only one author in your account, that author will be set as the author of the post.
- If there is an author in the account whose email matches that of the current user, that author will be set as the author of the post.
- Otherwise, the author field will be left blank.
- In the content editor, edit the blog post for voice, content, and accuracy.
- In the top right, click Publish to take the post live.
