- Knowledge Base
- Content
- Blog
- Use self-registration for private blog content
Use self-registration for private blog content
Last updated: April 10, 2025
Available with any of the following subscriptions, except where noted:
-
Content Hub Professional, Enterprise
With self-registration turned on, blog visitors can register to view private blog posts. The first time visitors view your blog, they will only be able to read private blog posts up to the read more separator. Learn more about customizing registration page templates.
You can identify contacts who have self-registered by filtering for a known Registered at contact property and an unknown Time registration email was sent contact property. Learn more about contact properties associated with private content.
Please note: it is not currently possible to customize the email that visitors receive after self registering, which asks them to verify their email address.
Set up self-registration
- In your HubSpot account, click the settings settings icon in the top navigation bar.
- In the left sidebar menu, navigate to Content > Private Content.
- Click the Choose a domain to edit dropdown menu and select the domain your private content is hosted on.
- Select the Allow self-registration checkbox.
- In the left sidebar menu, navigate to Content > Blog.
- In the Current View section, click the first dropdown menu and select a blog. In accounts with the Brands add-on, this will be the second dropdown menu.
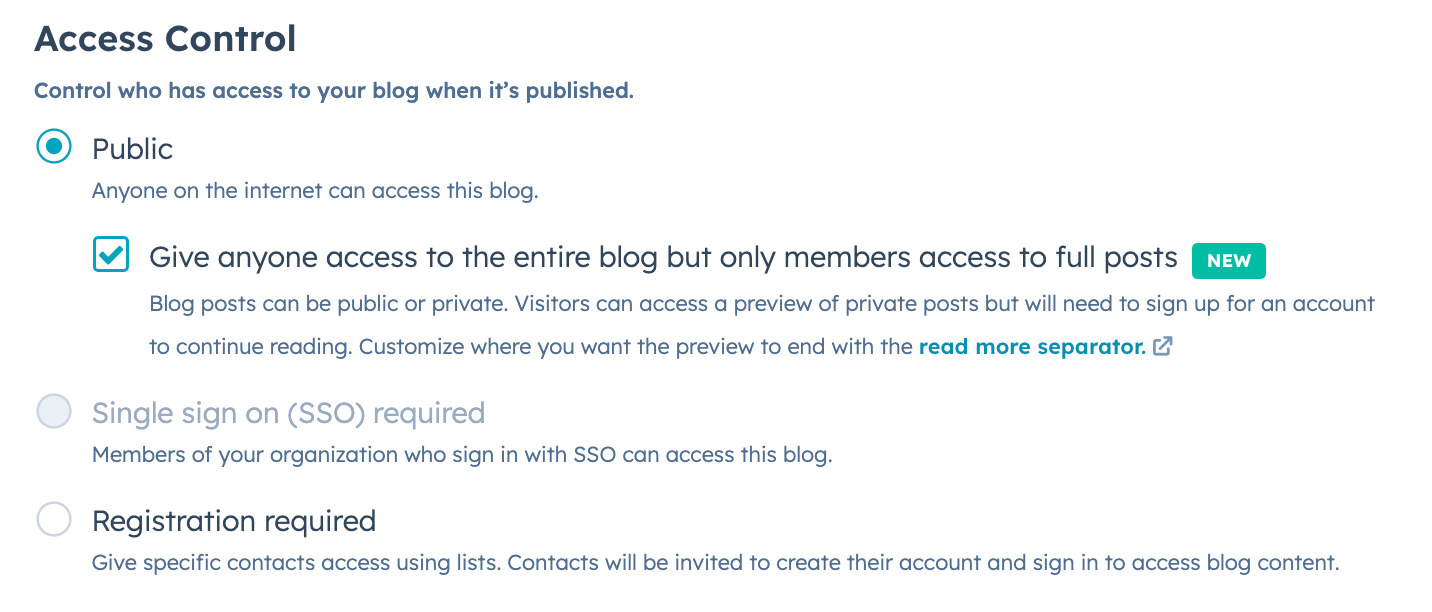
- In the Access Control section, select Public, then select the Give anyone access to the entire blog but only members access to full posts checkbox.
Please note: turning on this setting gives you the option of setting blog posts to use self-registration. You will still need to set individual blog posts to use self-registration.

- In the bottom left, click Save.
Turn on self-registration for individual blog posts
Once you've set up self-registration, you can set whether each blog post will require visitors to register to view it.
- In your HubSpot account, navigate to Content > Blog.
- Click the name of your post.
- Click the Settings menu and select Access control.
- In the dialog box, select Self-registration required.

- To preview how the post will appear to visitors who aren't signed in:
- In the content editor, click Preview in the top right.
- Click the Preview as dropdown menu and select Visitor (not signed in).
- When you're finished editing your blog post, click Publish or Update in the top right.
Turn on self-registration for multiple blog posts
You can turn on self-registration for multiple blog posts at once from the blog post index page.
- In your HubSpot account, navigate to Content > Blog.
- Select the checkbox next to each blog post.
- At the top of the table, click the More dropdown menu and select Control audience access.
- In the right panel, select Self-registration required, then click Save.
