- Knowledge Base
- Account & Setup
- Integrations
- Use HubSpot's integration with Zapier
Use HubSpot's integration with Zapier
Last updated: December 9, 2025
Available with any of the following subscriptions, except where noted:
Zapier connects HubSpot to over 1,400 apps using triggers and actions to automate work between HubSpot and other apps. For example, when there's a new contact in HubSpot (trigger), you can use Zapier to add the contact to a Google spreadsheet (action). You can use Zapier actions for a variety of HubSpot objects, such as contacts, companies, deals, and custom objects.
Before you get started
Before getting started, do note the following:
- The integration requires a Zapier account, and certain apps integrated with Zapier may require a paid Zapier subscription. Review Zapier's pricing page for more information.
- Datetime values sent through Zapier into HubSpot will be rounded down to UTC midnight. This may result in date discrepancies between external apps and HubSpot.
Connect HubSpot and Zapier
Permissions required You must be a Super Admin to connect Zapier to HubSpot.
To install the Zapier app in your HubSpot account:
- In your HubSpot account, click the Marketplace icon marketplace in the top navigation bar, then select HubSpot Marketplace.
- Use the search bar to search for and select Zapier.
- Click Install.
- Click Log in to sign in to your existing Zapier account, or Sign up to create a new Zapier account.
- To complete the integration setup, create your first HubSpot Zap.
Zapier's Quick Account Creation
Once you have connected the Zapier app in your HubSpot account, users in your account will be able to use Zapier's embedded Quick Account Creation to create a new Zapier account directly from within HubSpot and begin building Zaps.
- In your HubSpot account, click the settings settings icon in the top navigation bar. In the left sidebar menu, navigate to Integrations > Connected Apps.
- Search for and select Zapier.
- Click the Embedded Zaps tab.
- In the Zapier's embedded section, click Sign up to create a new Zapier account or Log in to sign in to your existing Zapier account.
- A pop-up window will appear allowing you to create a Zapier account via email, social sign-in or to sign in to your Zapier account.

Create a Zap
- In your HubSpot account, click the settings settings icon in the top navigation bar. In the left sidebar menu, navigate to Integrations > Connected Apps.
- Click Zapier.
- Click the Embedded Zaps tab.
- On the All Zaps tab, review your existing Zaps.
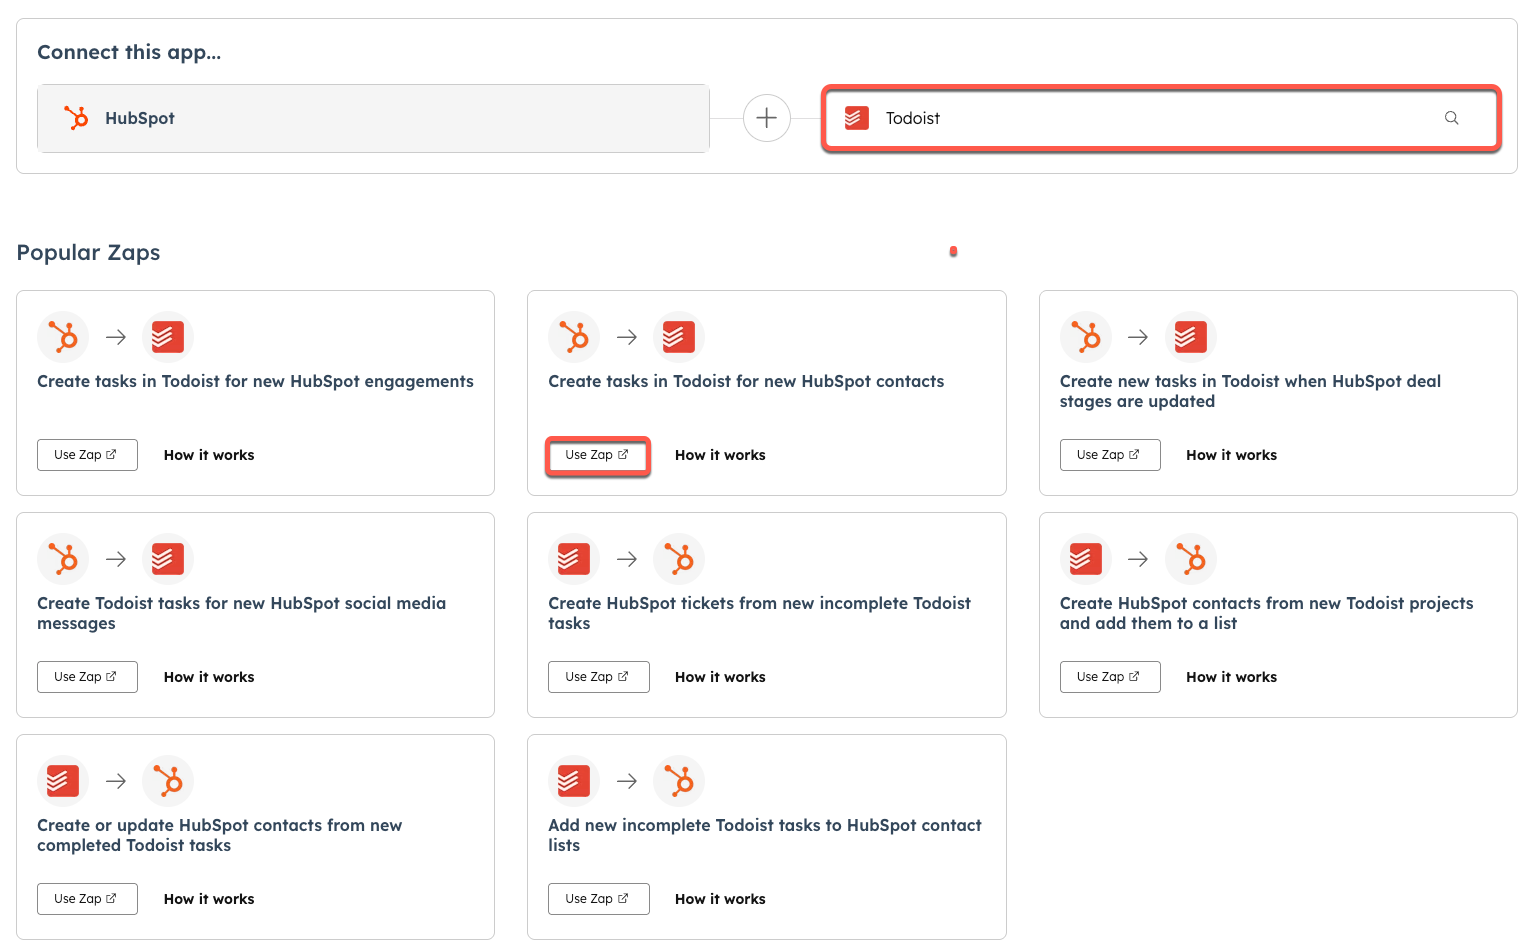
- To set up a new Zap, in the Connect this app section, select the app you want to connect HubSpot to.
- In the Popular Zaps section, review the popular Zaps for that app and click Use Zap for the Zap you want to start building.

- You'll be redirected to Zapier to start building your Zap.
- In the right panel, on the Setup tab, select and sign in to the app account you want the action to occur in. Then click Continue.
- On the Configure tab, set up the action for your Zap. Then click Continue.
- On the Test tab, click Test step to test the Zap.
- In the top right, click Publish to take your Zap live.
Learn more about setting up your Zap.
Popular Zaps for HubSpot
- Add new HubSpot contacts to a Google Spreadsheet
- Get an email alert for new HubSpot contacts
- Get an SMS or Phone call alert for new HubSpot contacts
- Send leads from a Wufoo form to HubSpot
- Send leads from an Unbounce landing page to HubSpot
- Send leads from a Gravity Forms form to HubSpot
- Send Eventbrite registrants to HubSpot
- Create Highrise contact from new HubSpot contacts
- Add new HubSpot contacts to a MailChimp list
Explore other HubSpot Zap templates.