- Knowledge Base
- AI
- AI
- Use drag and drop email templates in content remix
Use drag and drop email templates in content remix
Last updated: September 30, 2025
Available with any of the following subscriptions, except where noted:
-
Content Hub Professional, Enterprise
With content remix, you can use Breeze by HubSpot, to select any of your drag and drop email templates when generating new marketing emails.
Please note: Please avoid sharing any sensitive information in your enabled data inputs for AI features, including your prompts. Admins can configure generative AI features in account management settings. For information on how HubSpot AI uses your data to provide trustworthy AI, with you in control of your data, you can refer to our HubSpot AI Trust FAQs.
Before you get started
Before you begin working with this feature, make sure to fully understand what steps should be taken ahead of time, as well as the limitations of the feature and potential consequences of using it.
Understand requirements
- To use content, remix, you'll need to toggle the Give users access to generative AI tools and features and Files data switches on in AI settings.
Use drag and drop email templates for generated emails
You can select a drag and drop email template when generating new marketing emails in content remix.
- In your HubSpot account, navigate to Content > Remix.
- Click Start mixing in the top right or select your starting content from the content remix homepage. Learn more about adding your starting content.
- Once you've selected your content type in the left panel, click Add content.
- In the content remix, click the + Add button below your starting content.

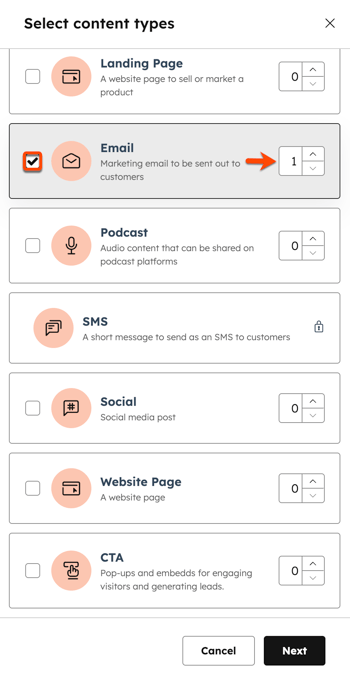
- In the left panel, select the Email checkbox.
- To generate additional email content, select the upIcon increase and downIcon decrease icons in the counter and then click Next.

- In the Template dropdown menu, select the email template.
- In the Custom Instructions field, enter your instructions to guide the email generation.
- To include images in the email, select the Include generated images in email checkbox.
- When finished, click Generate.