- Knowledge Base
- Content
- Design Manager
- A quick tour of the design manager
A quick tour of the design manager
Last updated: February 11, 2025
Available with any of the following subscriptions, except where noted:
HubSpot's design manager combines all the tools that designers need to build state-of-the-art websites, while still giving marketers the flexibility that they desire when creating content.
In this article, you will get a tour of all of the features of the design manager. If you are looking for specific code examples and reference documentation, check out HubSpot's developer documentation.
Tools included in the design manager
The design manager aggregates several important tools into one powerful app:
- Finder - a space to create and organize your files, templates, modules, and folders.
- Layout Editor - a drag and drop editor for structuring your page, blog, email, and system templates.
- Inspector - this is where you can edit the properties of a layout, module, or group.
- Code Editor - an Integrated Development Environment (IDE) for all your frontend code (CSS, Javascript, or even your own HTML templates).
- Module Editor - reusable custom modules that you can set up to add advanced functionality to your site that can still be managed by non-technical users.
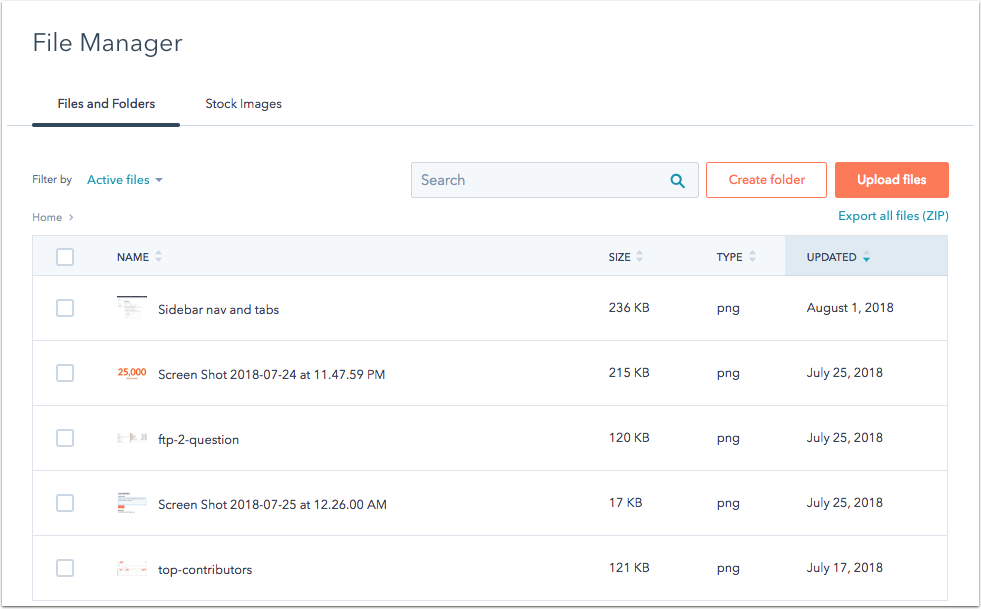
- File Manager - a file hosting system for all of your site's assets.
Navigate to your design manager to explore these tools. In your HubSpot account, navigate to Content > Design Manager.
Finder
The finder is a space to manage all your folders, templates, modules, and coded files. You can organize your files and folders however you like using the drag and drop interface of the finder. Clicking on a file can expand or collapse its contained files.
All Marketing Hub Professional and Enterprise and Content Hub Professional and Enterprise accounts have a @hubspot folder in the design manager by default. This folder contains all of your themes and default modules, including drag and drop email modules. These themes and modules are read-only, but can be cloned if you want to customize them. Learn more about customizing themes and default modules.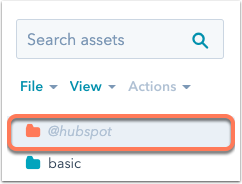
Click File to create new files or folders, or to take action on the asset currently selected in the finder such as delete, clone, or rename the asset. Use the options under View to manage the arrangement of your files and folders. You can quickly collapse all folders or pull up recently edited or deleted assets.

Please note: the finder is contextual, meaning that your actions will always be relative to folders and files selected. To create a new file or folder within a specific folder, click on that folder in the finder. To create a new file or folder outside of all existing folders, click View, then select Deselect all.
The Actions menu will only be active if a file or folder is currently selected, and provides contextual options for that type asset. You can also
- Clone: make a copy of your file, folder, or template.
- Move: select a new folder for your asset.
- Rename: give the asset a new name.
- Clone to HTML: create a copy of your asset entirely coded in HTML.
- Copy to
portal: create a copy of your asset and send it to another HubSpot account you have access to. - Create page/email: create a new piece of content using this template.
- Show dependents: see a list of any HubSpot content using the using the file.
- Show revision history: review a history of saved versions.
- Copy snippet: use this to quickly copy the code snippet of your
custom coded module onto your clipboard. This option will only appear whenright clicking on a module. - Lock folder: lock a folder to prevent users from editing its contents in the design manager. Contents in locked folders can only be edited within your local development environment.
- Delete - delete this file, folder, template, or module.

Tabs
When you click the name of a template, module, or coded file, it opens your selection in a tab in the editor. Tabs make it easy for you to multi-task and toggle between you various templates and coded files. You can right-click any tab to reveal options to manage your tabs in the editor. You can review a full list of open tabs by clicking the down arrow on the right.
To give yourself more space to work in the layout editor, you can click the collapse icon first to collapse the finder. You can expand the finder again by clicking the folder icon folder.
.gif?width=964&name=2021-12-16_16-33-42%20(2).gif)
Creating new templates and files
To create a new template, module, or coded file, click File > New file in the top-left corner of the finder. You have the option to create any of the following types of assets:
- Drag and drop: a template built by adding modules to an intuitive drag and drop interface.
- HTML & HUBL: a custom coded template created in the code editor using HTML, CSS, and Javascript.
- Stylesheet: a coded CSS file that can be used to style modules and files.
- JavaScript: a coded file of Javascript that can be applied to modules and files.
- Module: a custom coded module that can be added to a template.

Layout editor
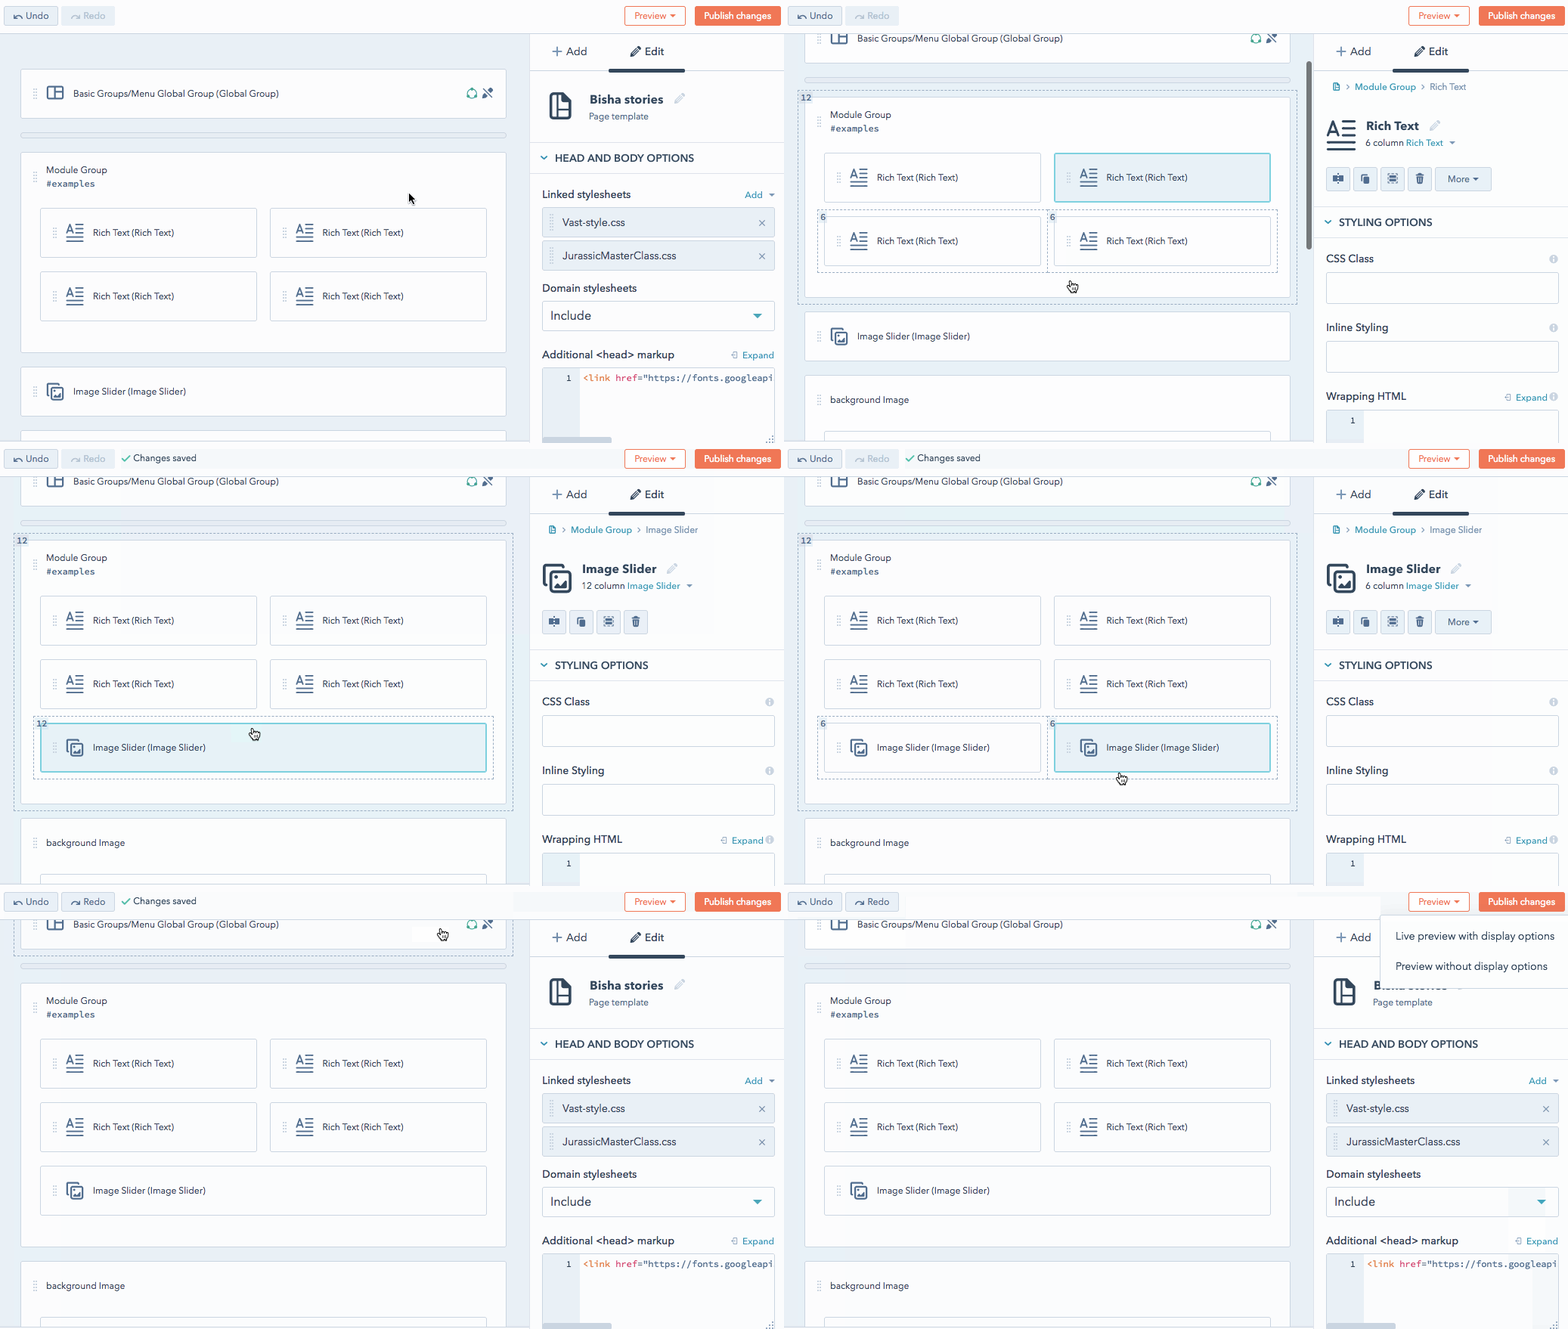
The layout editor is a drag and drop interface for the structure and default content of your pages and emails. You'll see the names of your modules and groups, along with the body class applied to each component. You can modify each module or group by clicking it for editing in the inspector on the right side, or by right-clicking on the component to access the functionality of the inspector.
Drag and drop components in the layout editor to adjust their placement and size on your template. There are Undo and Redo buttons in the upper-left corner to help you quickly revert your changes. You can also right-click a module to quickly group, clone, or change a module type, or use keyboard shortcuts to achieve the same actions. Click the Preview button in the upper-right corner to preview your work and test your layout on different screen sizes.
All HubSpot template layouts are responsive, meaning they automatically adjust to different screen sizes. This editor compiles your drag and drop modules into clean HTML markup that's made responsive by some built-in CSS.
Learn more about creating and editing templates and adding styles to your template.
Inspector
The inspector allows you to add and edit components in a template or module. It is contextually dependant on the task you are performing and the type of file. For example:
- When a component is selected in the drag & drop editor, the inspector will show all of the features and options of that component.
- When no component is selected in the drag & drop editor, the inspector will show options for the template itself.
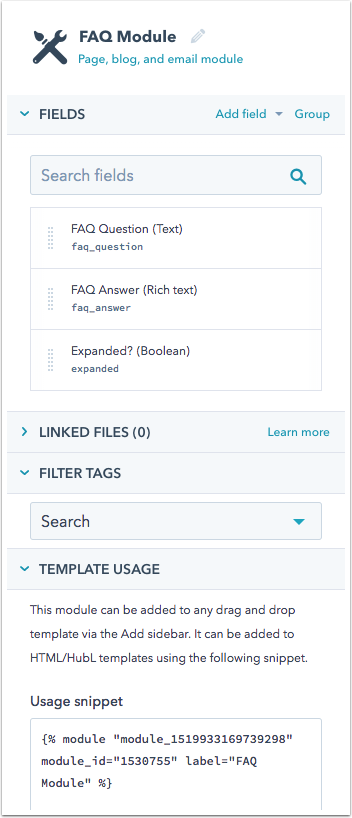
- When editing a module, the inspector allows you to edit and add fields.
Depending on the type of module selected on your template, there may be different options available in the inspector.
For drag and drop templates, the + Add tab is used to add new components to your layout. The Edit tab of the inspector can be used to assign custom CSS classes, edit default content, or attach coded files.
The inspector includes a breadcrumb navigation at the top to help you quickly navigate between the asset, module, group, and template you're currently working on.

For custom coded HTML & HUBL templates and modules, you can use the inspector to add new fields or link to coded files. You can also add filter tags to indicate the content type and function of your coded templates and modules to make them more easily searchable in the finder. You can also find snippets and more details about how these custom coded assets can be used in your templates.
Code editor
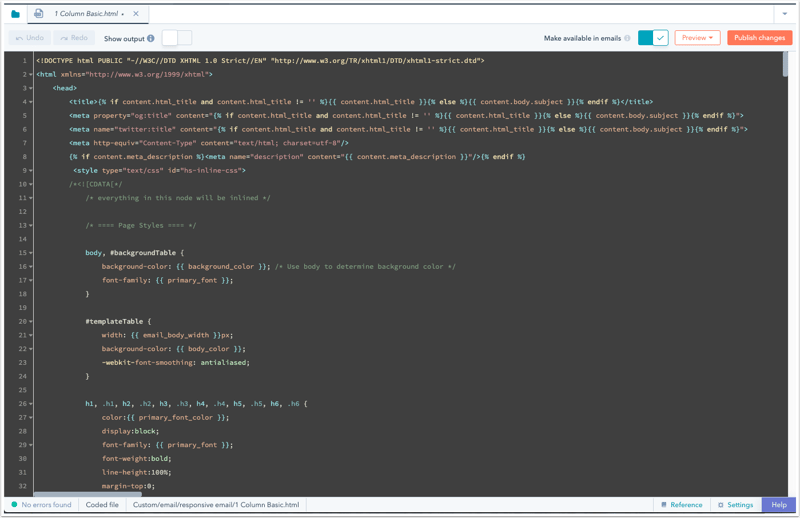
HubSpot's code editor is a powerful IDE that allows you to code CSS files, Javascript files, and even HTML templates. As you code or edit your stylesheets, you can live preview the effects of your changes on a variety of screen sizes. The code editor also takes advantages of many other helpful IDE features such as color-coded classes, error checking, syntax highlighting, auto-saving, auto-closing tags, auto-indenting, and more.
Learn more about how to use the code editor.
Please note: by default, HubSpot automatically minifies JavaScript and CSS included in the design manager to remove unnecessary spaces, line breaks, and comments. This also applies to JavaScript and CSS uploaded to the design manager through the CLI. This means that you should not add already minified code directly to the design manager.
Learn more about JavaScript and CSS minification.
Module editor
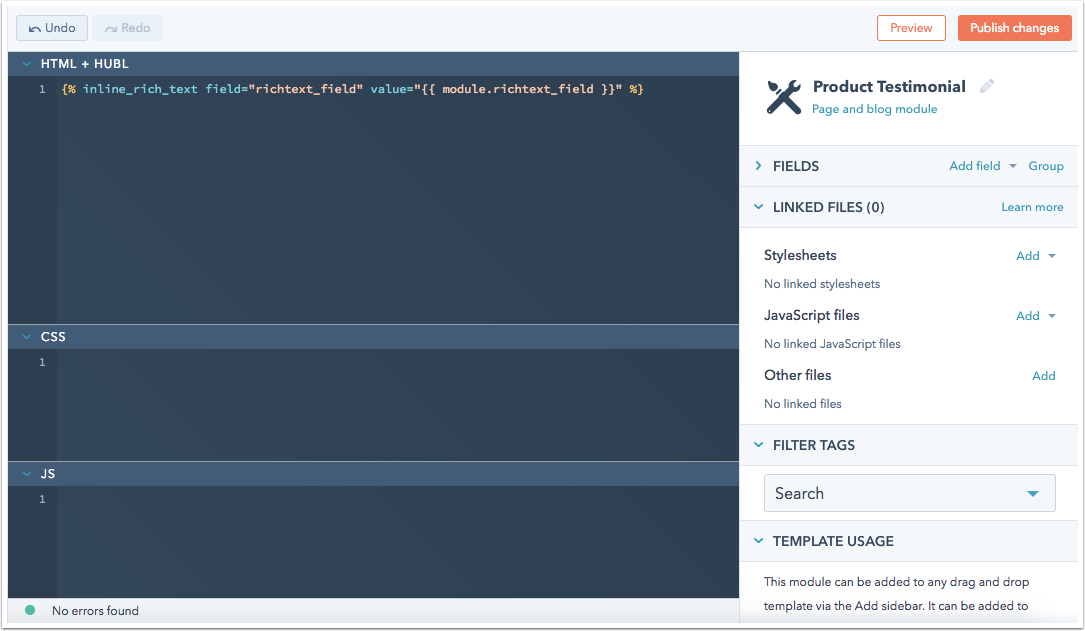
While HubSpot's drag and drop templates come with a number of standard modules to choose from, designers may occasionally need a more custom design solution. Modules are reusable custom-coded components comprised of HTML and
Use the inspector to add fields, attach coded files, or add tags to organize your assets. Just like in the code editor, you can live preview your work on a variety of screen sizes as you go. You can also specify default content for your module fields, lock default content, or make specific module fields required.
File manager
HubSpot's file manager stores all the assets that you use to create content. This tool allows you to upload PDFs, images, videos, audio files, fonts, and more. You can access your creative assets or quickly upload new files without having to leave the app.
