
Last updated: July 24, 2026
Available with any of the following subscriptions, except where noted:
-
 Marketing Hub
Professional, Enterprise
Marketing Hub
Professional, Enterprise
-
 Content Hub
Professional, Enterprise
Content Hub
Professional, Enterprise
Edit your video clips directly in HubSpot using the video editor. Add audio, image, and text overlays, combine multiple clips, apply captions and branding, and use AI to remove filler words or background noise from your audio.
After editing, export the clip to save it to the files tool. For example, after recording a product demo, you can trim the footage, add a company logo as a watermark, and use AI to remove filler words before exporting the final version.
Edit clips from a video
If you have a Content Hub subscription, you can create and edit videos directly from the video tool. If you have a Marketing Hub subscription, you can access the video editor from the files tool.
If you have a Content Hub Professional or Enterprise subscription:- In your HubSpot account, click More, then navigate to Content > Video. If More doesn't appear in your account, navigate to Content > Video directly.
- To edit an existing clip, hover over the video. Then, click the edit icon.The video editor will open.
- From here, you can edit clips using the video timeline or using the video transcript.
- In your HubSpot account, click More, then navigate to Content > Files. If More doesn't appear in your account, navigate to Content > Files directly.
- Double-click the video file to open the Video Details page. Or, click the three vertical dots icon, then click View Details.
- At the bottom, click Edit. You'll be automatically redirected to the video editor.
You can also create and edit video clips directly from the social tool.
Add audio, images, or text to your video
Add audio, images, or text to your video for additional context or to match your brand. You can upload your own audio files or use trending TikTok audio, place image and text overlays over your footage, and add a static image as an intro or outro slide.
Add an audio track to your video
To add an audio track to your video:- In the left sidebar menu, click the + add icon. Alternatively, click Add in the timeline editor.
- In the left panel, select Audio.
- To use your own audio file, click Your uploads. Then, select an existing audio file or click Upload to add a new audio file. The audio clip will automatically appear in the timeline editor
- To use a trending TikTok audio, click TikTok trending audio. Learn more about using TikTok audio in your videos.
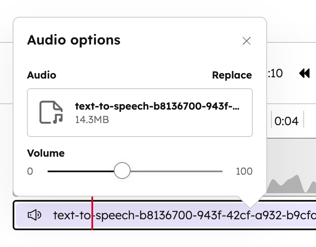
- To configure the volume for your audio overlay:
- Click the audio overlay in the timeline editor, then click the pencil icon.
- In the dialog box, use the volume slider to adjust.
Add an image overlay to your video
To add an image overlay to your video:- In the left sidebar menu, click the + add icon. Alternatively, click Add in the timeline editor.
- In the left panel, select Image overlay.
- In the right panel, select an existing image file or click Upload to add a new image file. A timeline clip for the image will automatically appear in the timeline editor.
- To move your overlay, in the preview screen, click and drag the image overlay to the desired position. When moving your overlay, guide lines will automatically appear in the preview.
- You can also use the arrow keys on your keyboard to move the overlay 1px at a time.
- To move the overlay 10px at a time, hold the shift key and tap the arrow keys.
- To edit the size of your overlay, in the preview screen, click and drag the corner of the image overlay.
Add a text overlay to your video
To add a text overlay to your video:- In the left sidebar menu, click the + add icon. Alternatively, click Add in the timeline editor.
- In the left panel, select Text overlay. A timeline clip for the text will automatically appear in the timeline editor.
- In the video preview screen, click the text field and enter your text.
- To move your overlay, in the preview screen, click and drag the text overlay to the desired position. When moving your overlay, guide lines will automatically appear in the preview.
- You can also use the arrow keys on your keyboard to move the overlay 1px at a time.
- To move the overlay 10px at a time, hold the shift key and tap the arrow keys.
- To edit the size of your overlay, in the preview screen, click and drag the corner of the text overlay.
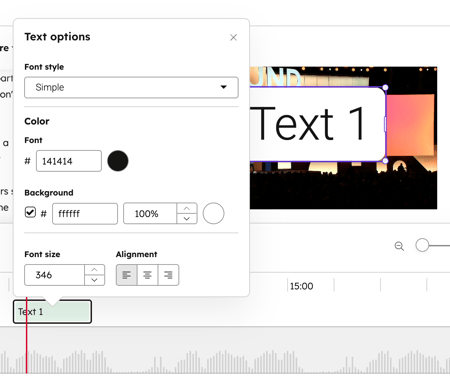
- To configure the design for your text, such as the font or background for your text, click the text overlay in the timeline editor, then click the pencil icon.
Add an image to the intro or outro of your video
You can also add a static image as an intro or outro to your video. For example, you may want to add a title card to give context, or your company logo at the end of your video.
- In the left sidebar menu, click the + add icon. Alternatively, click Add in the timeline editor.
- In the left panel, select Text overlay.
- In the right panel, upload or select an image for your intro or outro. The image will be added as a full-screen slide at the start of the video.
- To move the slide to the end of your video, click on the image in the video timeline and select the pencil icon. Then, select Move to end.
- To add a background to your image, click on the image in the video timeline and select the pencil icon. Then, select the Background checkbox and set your in the picker.
- To remove a slide, click the image on the timeline and select the delete icon.
Combine multiple video clips using the video timeline
Combine multiple video clips into a single video to build a complete video from multiple source files. You can append video clips to the end of your video, or split an existing video track and insert a new one between.
Branding and captions will be applied across all segments automatically, and you can adjust the volume and crop of each individual video segment.
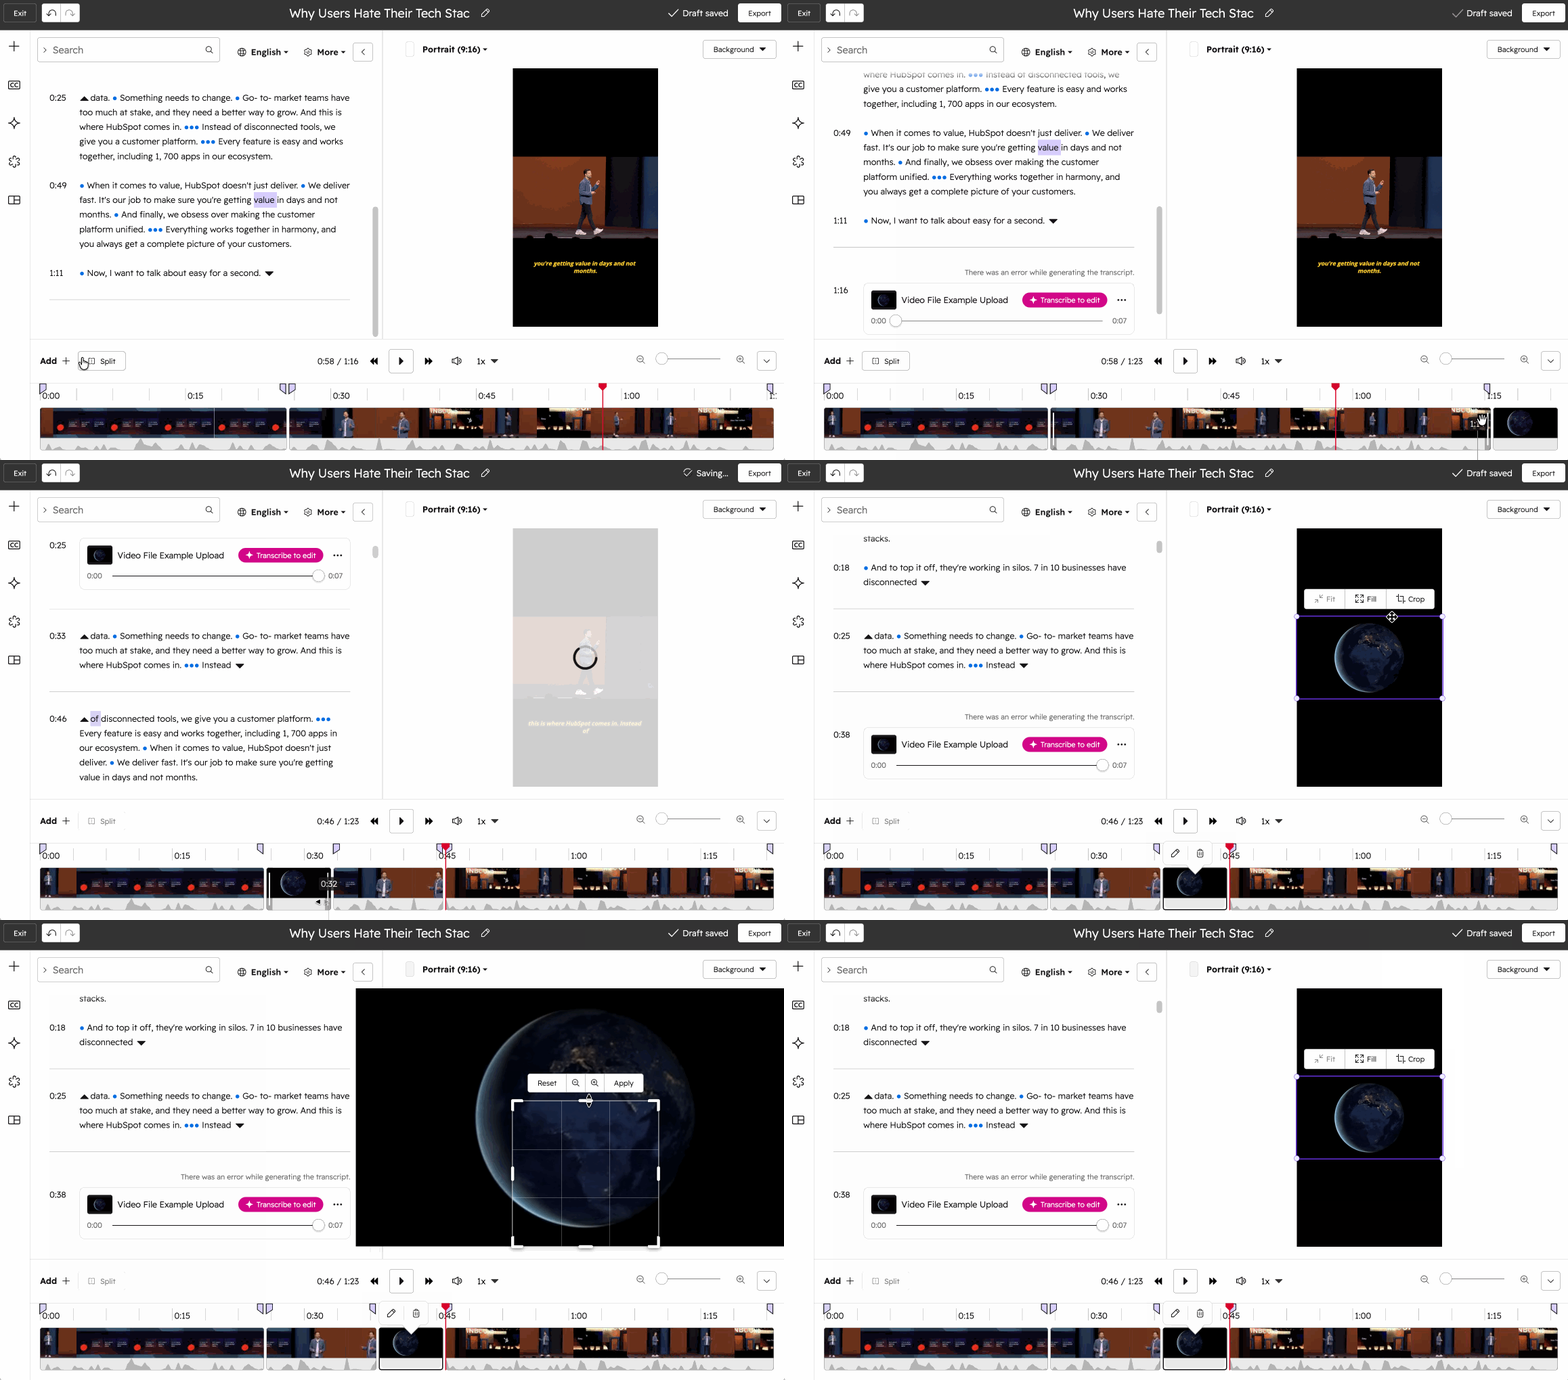
- To append a video clip to your existing video:
- In the bottom left, click Add.
- In the left panel, select Video.
- In the right panel, select an existing video clip. You can also upload a new video or record a video directly in HubSpot. The selected video will automatically appear in your video timeline.
- To insert a video clip into a video:
- In your video timeline, click on a point where you'd like to insert the new video.
- On the top left of the timeline, click Split. This will split your video into two clips at the selected point.
- In the bottom left, click Add. Then, select Video.
- In the right panel, select an existing video clip.
- In the video timeline, click and drag your new video clip to the split point.
- To rearrange your video clips, click and drag the clip to the desired position in the video timeline.
- To add a transition between your video clips:
- Hover between the clips and click the transition icon.
- In the dialog box, select a transition type.
- At the bottom, use the slider to determine the length of transition between clips.
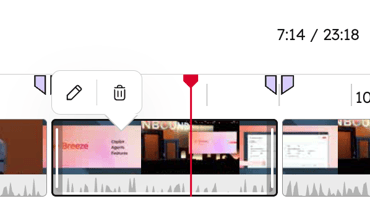
- To adjust the volume of a specific clip, click on the clip and select the edit icon. Then, use the slider to control your clip volume.
- To delete a specific clip from your video timeline, click on the clip and select the delete icon. The clip will be immediately removed from the video timeline.
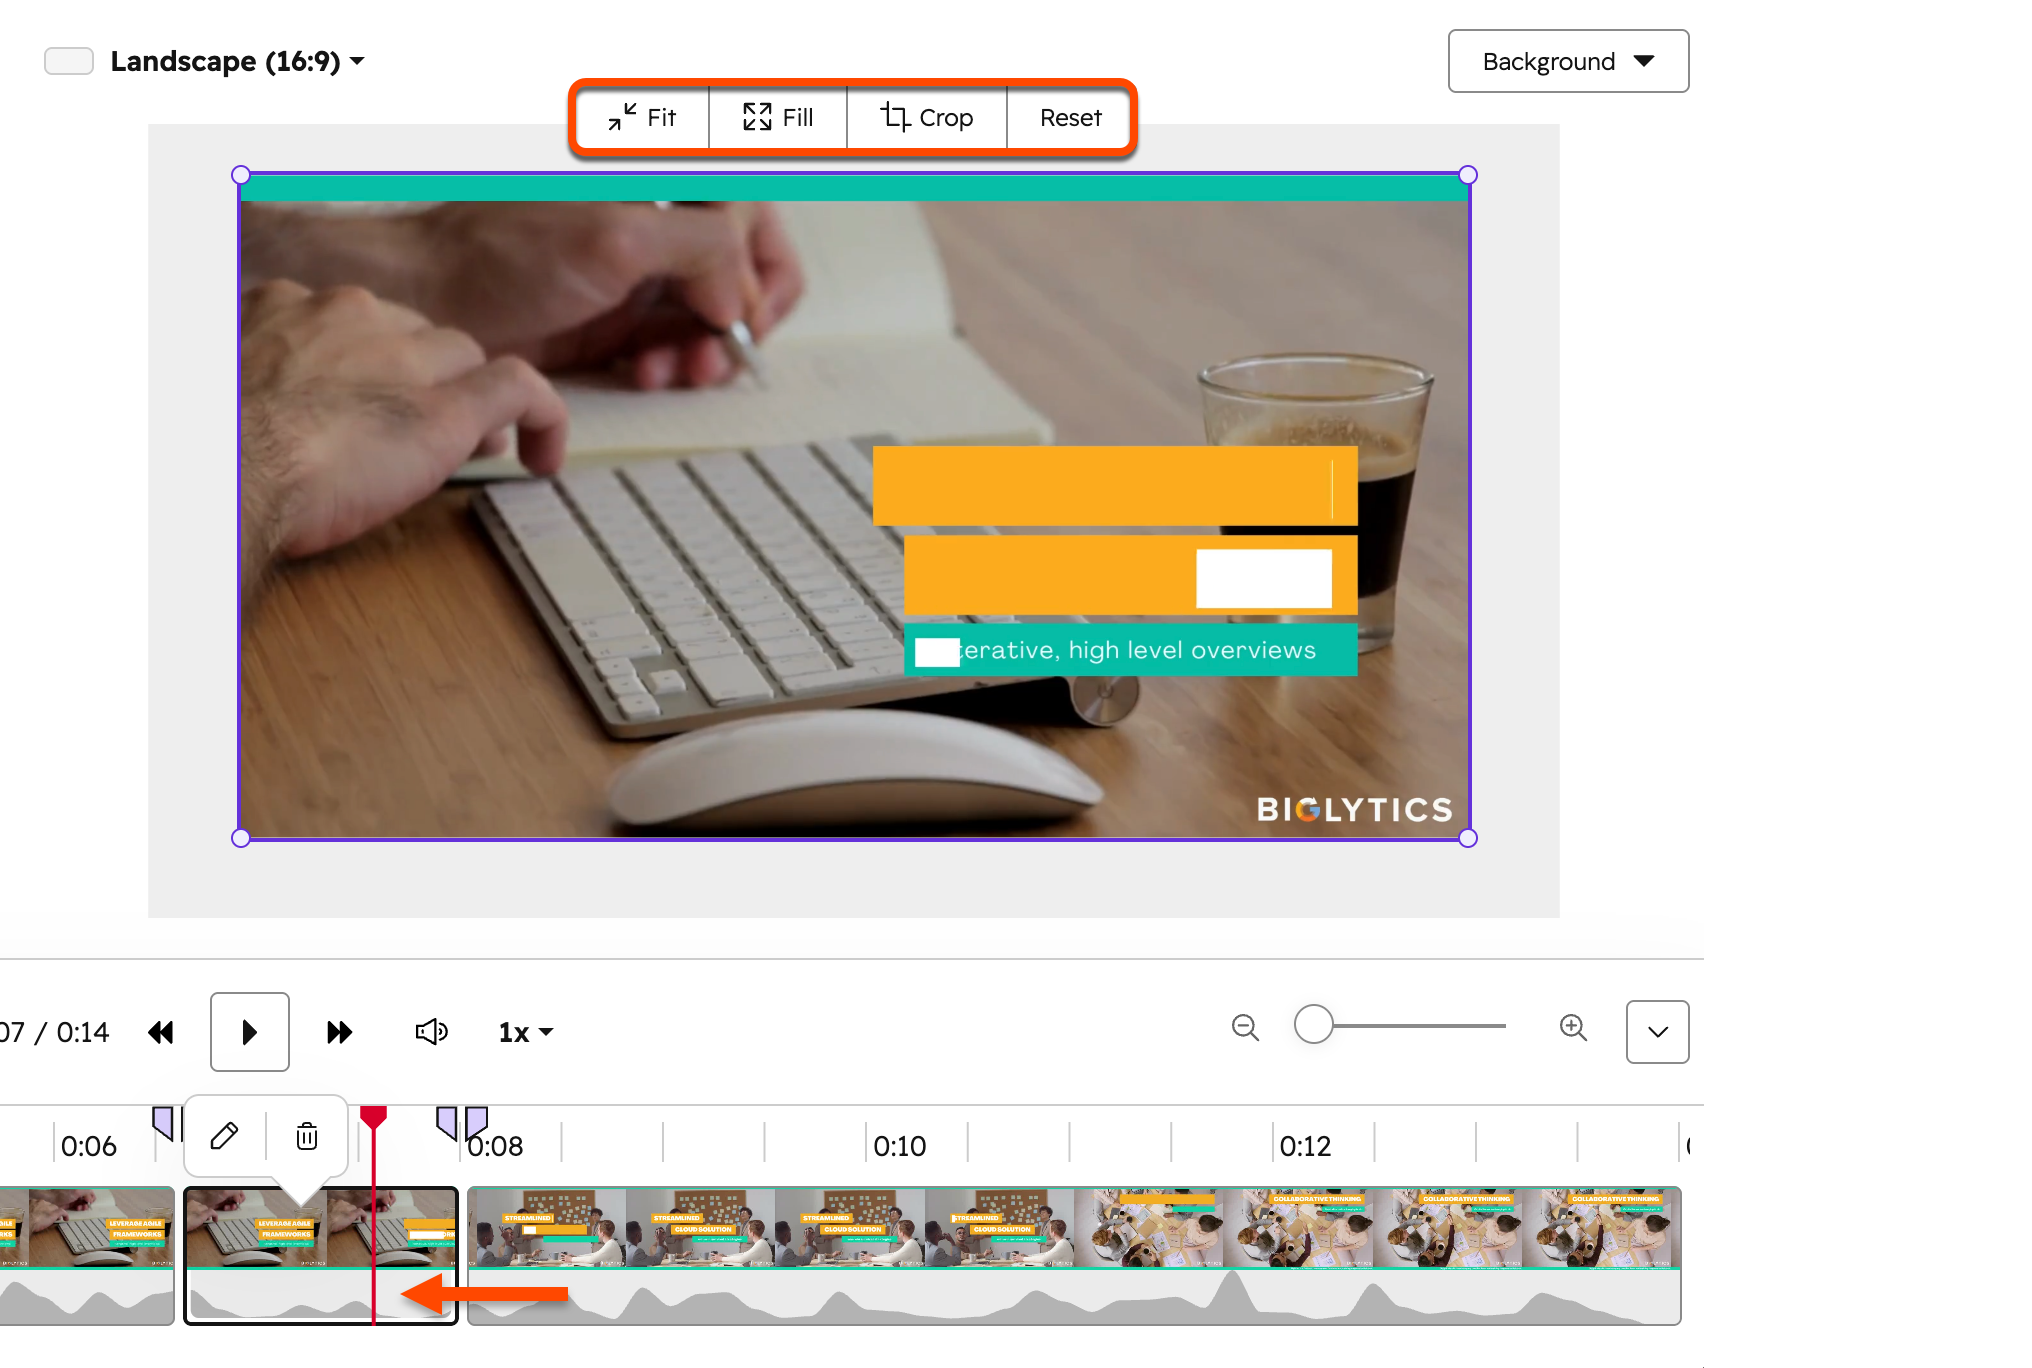
To edit the crop of a specific clip, click on the clip. Any edits will only apply to the selected clip. At the top of the right panel, select from the following options:
- Fit: fit the clip display to the selected aspect ratio, while ensuring that the entire clip still appears.
- Fill: use the cropped clip to fill the entire display. This can result in certain areas in the clip being cropped if the aspect ratios are not aligned.
- Crop: crop the video clip display to a specific size or ratio. After cropping your video, you can click and drag it to the desired position on your video display.
- Reset: reset your crop and any positioning changes to the original video appearance.
Crop and edit your video clip display
- In the right panel, click Crop to begin editing the video.
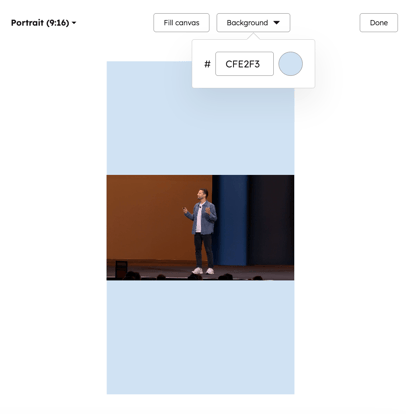
- To edit the aspect ratio for your video, click the first dropdown menu and select from Portrait (9:16), Landscape (16:9), or Square (1:1).
- After editing the aspect ratio of your video, if your clip canvas has extra space above or on the sides, you can also choose from the following:
- Fit to canvas: adjust the video to fit within the selected aspect ratio. To set the background , click the Background dropdown menu. Then, select a . This will fill in the background where your clip canvas has extra space above or on the sides.
- Fill canvas: expand the clip to fill the entirety of the cropped area. When selecting this option, you can drag and drop the clip within the clip previewer to decide what part of the video should be retained.
Add video clip captions
You can add captions to your video clip based on the transcript. Design your caption and set your caption's position.
- In your HubSpot account, click More, then navigate to Content > Video. If More doesn't appear in your account, navigate to Content > Video directly.
- From the video library, hover over the video. Then, click the edit icon. You'll be automatically redirected to the video editor.
- In the left sidebar menu, click the captions & translations icon.
- In the left panel, toggle the captionsswitch on.
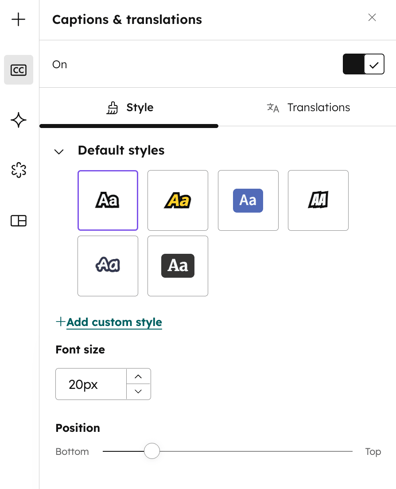
- Select your caption style. You can choose from six default styles. Alternatively, click + Add new custom caption style to create a custom caption.
- In the Font size section, enter or edit the font size for your caption.
- In the Position section, select the vertical height for your caption. By default, all captions are centered in the video.
Add AI-translated video clip captions
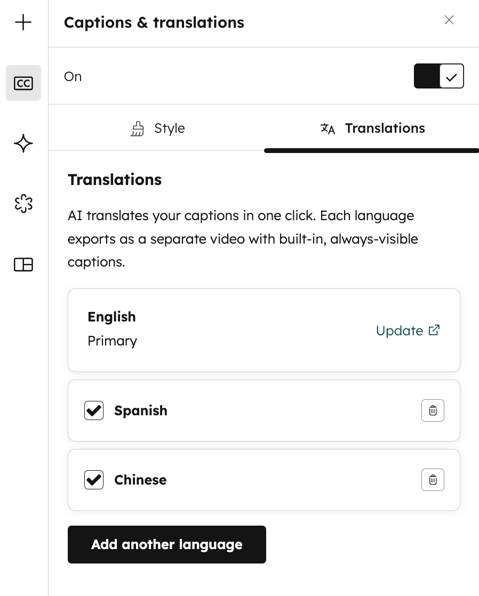
Add AI-translated captions directly onto the video clip based on the video transcript. When exporting the video, separate videos will be created for each additional translation.
- You can navigate to your captions from your Captions and translations settings or AI settings:
- In the left sidebar menu, click the captions & translations icon. At the top, click the Translations tab.
- Alternatively, in the left sidebar menu, click the AI icon. Then, select Multi-language.
- In the left panel, click to toggle the switch on.
- Click + Add language.
- In the dialog box, click the Translate to dropdown menu and select the checkboxes next to the languages that you'd like to translate.
- At the bottom, click Translate. The languages will automatically appear in the left panel after translation.
- To preview what the translated caption will look like on your video, click Preview next to the language.
- To delete a translated caption, click the delete icon.
Remove background noise using AI
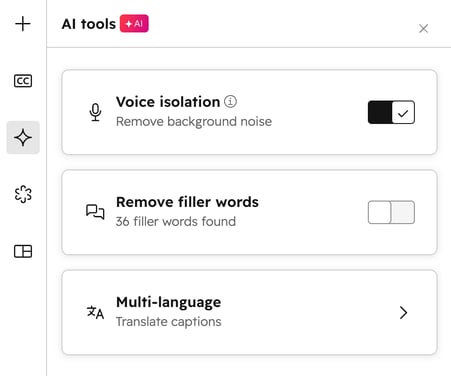
Use AI voice isolation to remove background noise from your video's audio.
- In the left sidebar menu, click the AI icon.
- Toggle the Voice isolation switch on. Then, preview the edited audio in your video editor timeline.
- To restore your original audio, toggle the Voice isolation
Remove AI-detected filler words
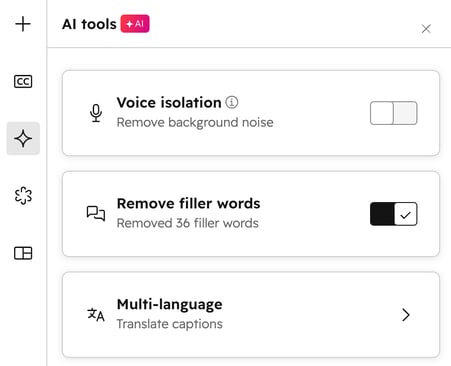
Use AI to identify and remove filler words from your video's audio and transcript. This includes:
- Filler words such as um, uh, and ah.
- Words that are contextually considered as filler, such as like.
To remove AI-detected filler words:
- In the left sidebar menu, click the AI icon.
- Toggle the Remove filler words switch on. Once the analysis is complete, Removed [number] filler words will appear under the Remove filler words section.
- To review the edited audio, check the video editor timeline.
- In the transcript, removed filler words will appear greyed out with a strikethrough.
- To restore specific words, you can click the word in your transcript. Then, select Restore. Learn more about editing your video using the video transcript.
- To restore your original audio, toggle the Remove filler words switch off.
Add branding to your video clip
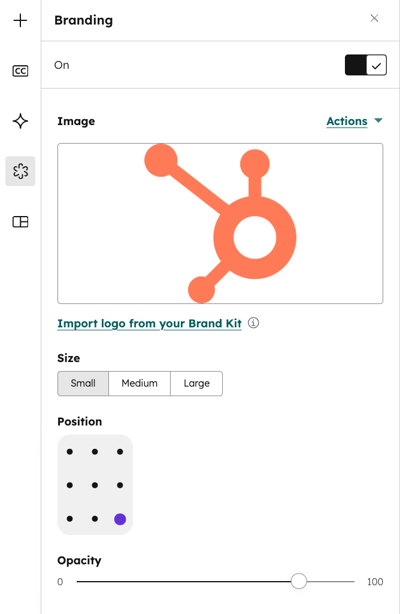
Add a brand or watermark to your video. A preview of the brand image will appear on the video in the right panel.
- In the left sidebar menu, click the brandingbrandingbranding icon.
- In the left panel, click to toggle the switch on.
- In the Image section, add a brand image to your video. You can select an image from the files tool, upload a new image, or import your company logo from your brand kit.
- In the Size section, select the size for your brand image. You can select from small, medium, or large.
- In the Position section, select the location where you'd like your brand image to appear in the video.
- In the Opacity section, use the slider to determine the opacity of your brand image.
Create and apply templates to your video clip
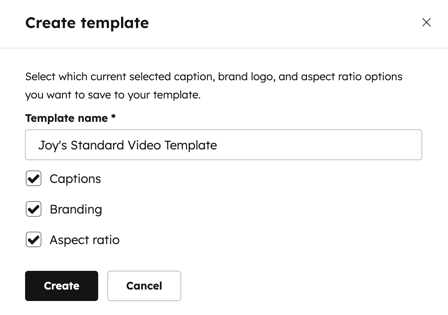
Save your caption, branding, and video aspect ratio to use as templates whenever editing a new video.
-
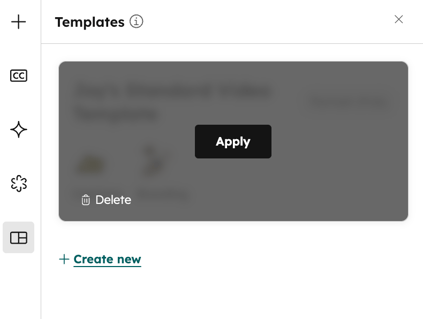
In the left sidebar menu, click the templates icon.
-
Click + Create New.
-
In the dialog box, enter a name for your template.
-
Select the checkboxes next to the settings that you'd like to include in your template.
-
After setting up your template, at the bottom, click Create. The template will automatically appear in the panel with the details for each setting.
- To use a template, hover over the template and click Apply.
- The design selections will be applied to the current clip.
- You can apply multiple templates into a clip.
Undo or redo changes
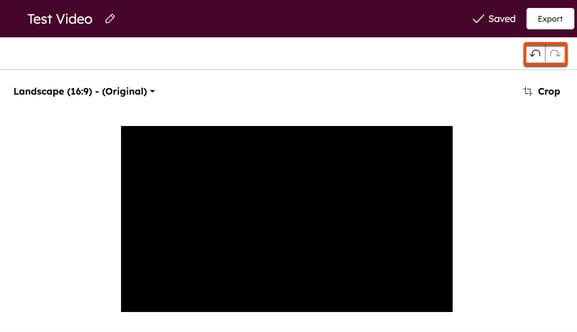
Undo and redo actions in your video editor. This applies to all actions including edits to the video transcript.
- To undo an edit, click the undo icon in the top right. Changes will be undone one at a time.
- To redo an edit, click the redo icon in the top right. Changes will be redone one at a time.
Export your video clip
After setting up your video, to export a clip:
- After editing your clip, in the top right, click Export. After exporting your file, you'll be taken back to your Video Details with the Variations tab open.
- When your export is complete, you'll receive an email notification.
Please note: after exporting your clip, a new video will be saved to the files tool by default.
