- Knowledge Base
- Service
- Chatflows
- Create a chatflow for Facebook Messenger
Create a chatflow for Facebook Messenger
Last updated: November 24, 2025
Available with any of the following subscriptions, except where noted:
-
Seats required for certain features
When you connect your Facebook Messenger account to help desk or the conversations inbox, a default instant reply chatflow will be created and enabled in your account. This is the primary chatflow used on your Facebook Messenger page. In this article, learn how to customize your default Facebook Messenger chatflow and create additional Facebook Messenger chatflows.
To create a chatflow for your website pages, learn how to create a live chat or rule-based chatbot.
Customize the default Facebook Messenger chatflow
You can customize the chatflow's instant reply message and routing rules:
- In your HubSpot account, navigate to Service > Chatflows.
- Click the Facebook Messenger tab.
- Hover over the chatflow and click Edit.
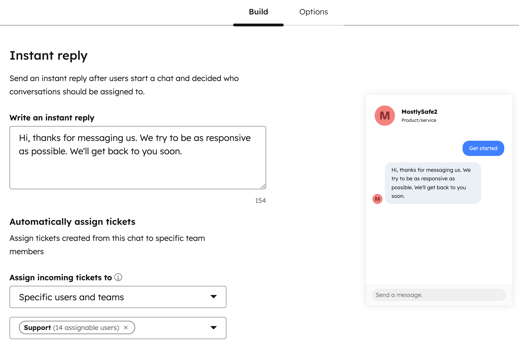
- On the Build tab, customize the chatflow's instant reply message and routing rules.
- Click Save.

- To copy a direct link to your Messenger account, click the Options tab, then click Copy next to the URL. This can be added to CTAs, emails, and your website.
Create additional Facebook Messenger chatflows
You can only have one primary chatflow for each connected Facebook Messenger account. This is the default chatflow that visitors will see when messaging you. You can, however, create additional instant reply chatflows or bot chatflows and use the direct URLs for these chatflows in your content. Add direct URLs to your CTAs, marketing emails, or website pages so visitors can immediately start a conversation with your team in Messenger.
To create additional Facebook Messenger chatflows:
- In your HubSpot account, navigate to Service > Chatflows.
- In the upper right, click Create chatflow.
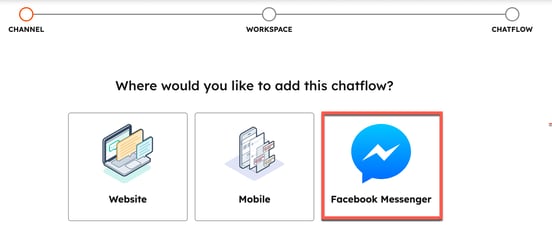
- Select Facebook Messenger.

- Customize the Facebook page and language settings:
- To select the page you want your chatflow to be active on, click the dropdown menu and select a Facebook page.
- To change the chatflow's language, click the Language dropdown menu.
- Click Next.
- You can create a live chat or a rule-based chatbot. Learn more about the different bot templates you can choose from. When you're ready to continue, in the left sidebar, select which type of chatflow you're creating, then click Next.
- Click Next.
- If you're creating a rule-based chatbot, select the Ticket pipeline and Ticket status dropdown menus and select a value.
- You'll be redirected to the Build tab, customize the instant reply and routing rules.
Seats required An assigned Service Seat is required to be included in routing rules.
- If you're creating an live chat, enter a message in the Write an instant reply text box. Click the Assign incoming conversations to dropdown menu and decide who incoming messages should be routed to.
- If you're creating a rule-based chatbot, to edit the instant reply message, click the Instant reply action, then edit the message in the right panel. You can also edit the existing actions or add additional actions to the bot's flow.
- Click the Options tab.
- If you're creating a bot, you can customize additional bot display options:
- To set a delay between each message that is sent to visitors, click the Typing delay between messages dropdown menu and select an option.
- To customize the amount of time after inactivity before the chat session is reset to the beginning, click the Session timeout dropdown menu and select an option. The chat session will not reset if a visitor completed every bot action in a past session.
- In the Generic error message text box, type the message to display when a request can't be delivered.
- To change the bot's display language, click the Select a language dropdown menu and select a different language.
- To preview your chatflow in Facebook Messenger, click View in Facebook Messenger in the top right.
- To enable the chatflow, in the top right, click to toggle the switch on.
- Next to the Facebook Messenger URL, click Copy to copy the direct URL for your chatflow. This can be added to CTAs, emails, and your website.
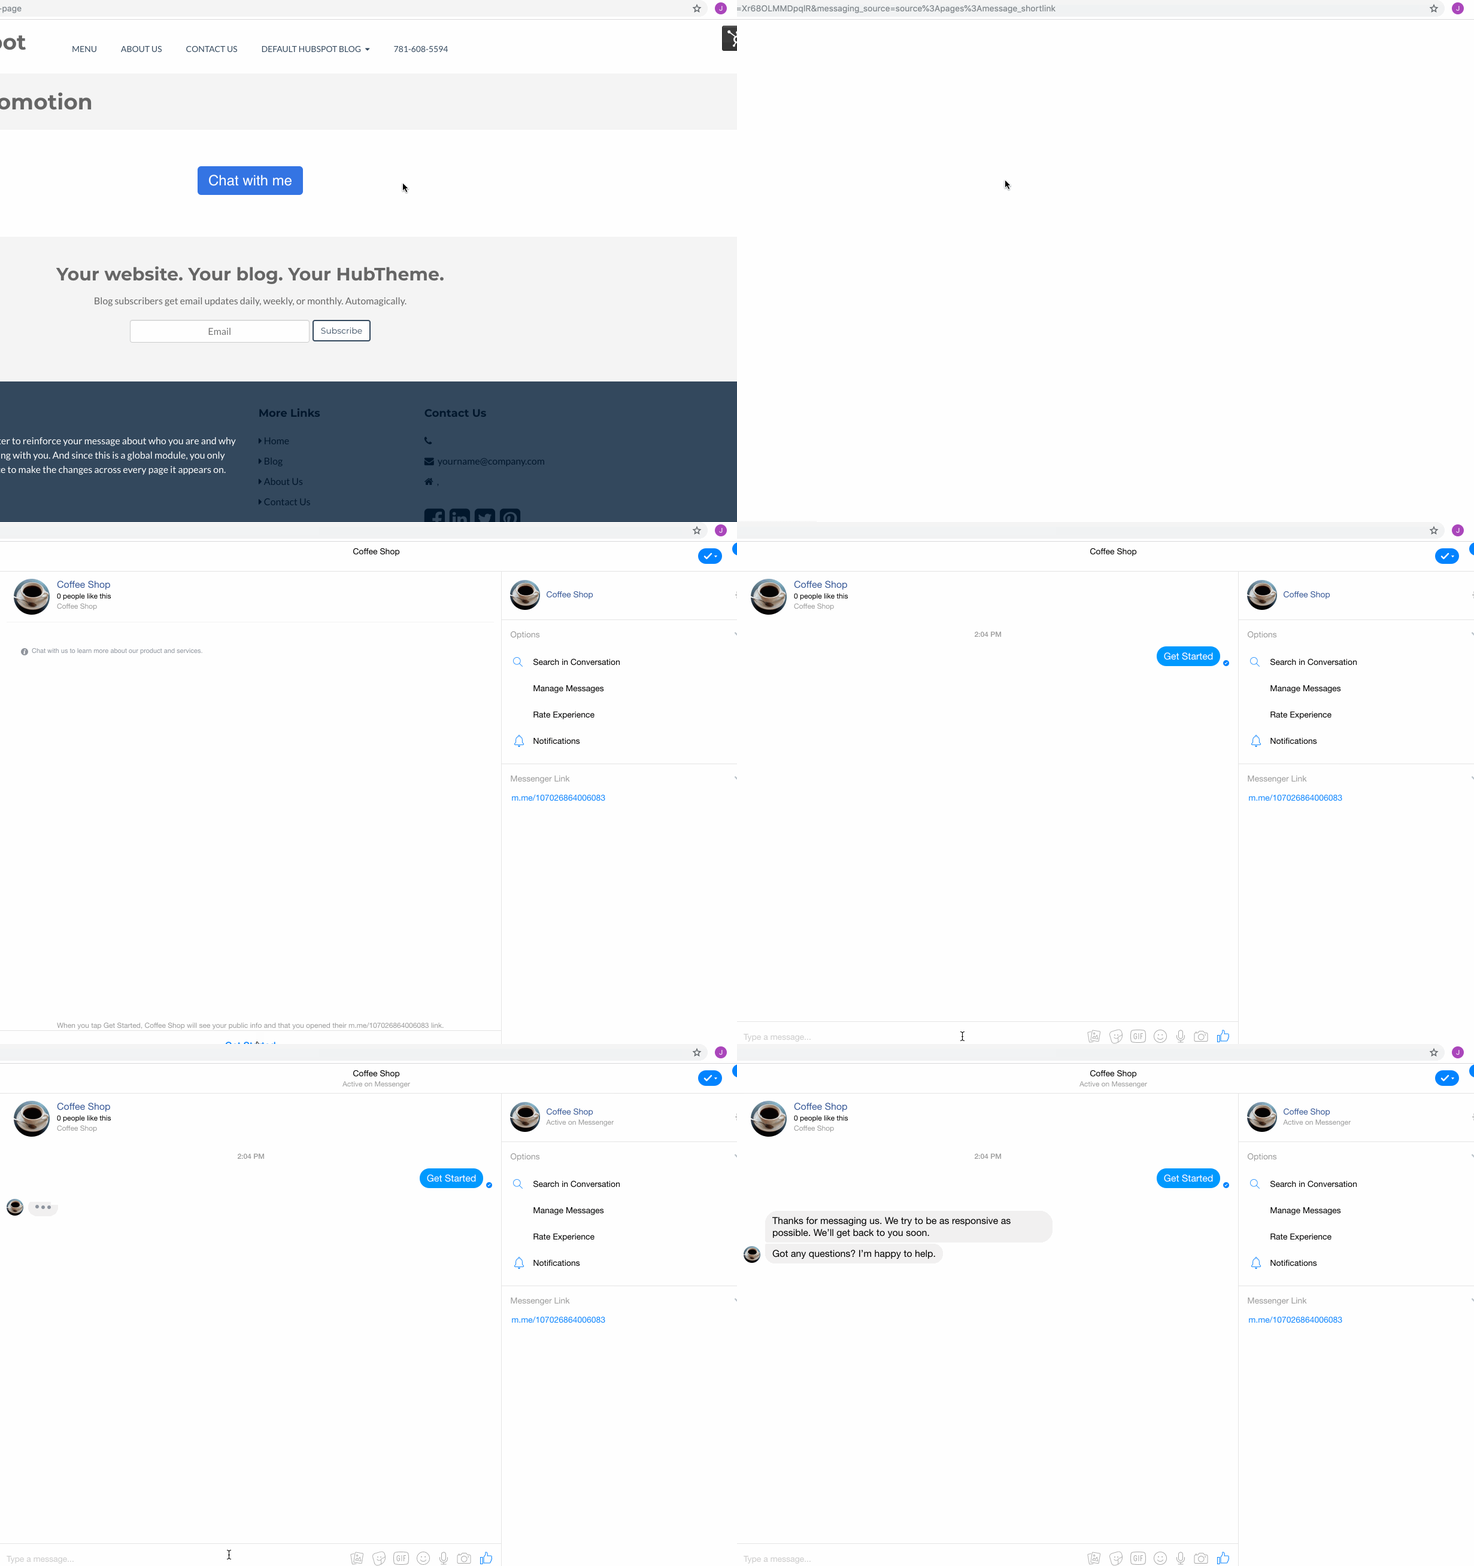
Your new chatflow will now appear on the Facebook Messenger tab of the chatflows tool. If you add the Messenger URL to your content, when a contact clicks the URL, they'll be brought directly to Messenger where they can start a conversation with your team. 
To make one of your new chatflows the primary chatflow that visitors will see when visiting your Facebook Business page, hover over the chatflow, click the More dropdown menu, and select Set as primary.
Respond to incoming messages
Once your Facebook Messenger account is connected to HubSpot, learn how to respond to incoming messages in your conversations inbox and help desk. Only new messages sent after you connected Facebook Messenger to HubSpot will appear in help desk or the conversations inbox. If incoming messages aren't appearing in your inbox, make sure HubSpot is set as the primary receiver for Facebook Messenger.