- Knowledge Base
- Automation
- Workflows
- Add data to Airtable with workflows
Add data to Airtable with workflows
Last updated: November 4, 2025
Available with any of the following subscriptions, except where noted:
-
Marketing Hub Professional, Enterprise
-
Sales Hub Professional, Enterprise
-
Service Hub Professional, Enterprise
-
Data Hub Professional, Enterprise
-
Smart CRM Professional, Enterprise
-
Commerce Hub Professional, Enterprise
Use the Add data to Airtable workflow action to automate sending your HubSpot data to Airtable. This workflow action enables you to create new rows of data in a new or existing Airtable database.
Before you can add data to Airtable with workflows, you'll need to connect Airtable to your HubSpot account. Learn more about connecting apps within a workflow.
- In your HubSpot account, navigate to Automation > Workflows.
- To edit an existing workflow, hover over the workflow, then click Edit. Or create a new workflow.
- In the workflow editor, click the + plus icon to add a workflow action.
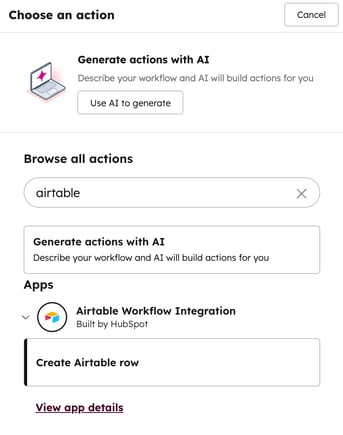
- In the left panel, select the Create Airtable row action.
 .
.
- Enter your Airtable row details:
- Base: click the dropdown menu to select the Airtable base to add data to.
- Table: select the table that you want to add rows to.
- Header: select the row header.
- Property: select the HubSpot property that you'll be pulling information from. If there are previous actions in the workflow, you can also select from the outcomes of those actions.
- To add multiple rows, select multiple Header and Property values.
- To add the action to the workflow, at the top, click Save.
Workflows
Thank you for your feedback, it means a lot to us.
This form is used for documentation feedback only. Learn how to get help with HubSpot.