
Last updated: September 2, 2026
Available with any of the following subscriptions, except where noted:

-
 Additional subscriptions required for certain features
In the index page view, create records from both table and board views. Enter property values, add associations, and transfer existing activities during record creation.
Create records on the table view
Subscription required A Marketing Hub Starter subscription with marketing contacts is required to set contacts as marketing.
- Navigate to your records (e.g., In your HubSpot account, click More, then navigate to CRM > Contacts. If More doesn't appear in your account, navigate to CRM > Contacts directly.).
- In the upper right, click the view type dropdown menu and select Table view.
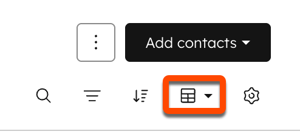
- In the upper right, click the Add [object name] dropdown menu, then select Create new.
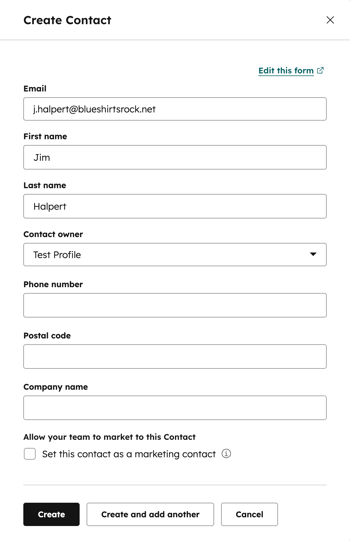
- In the panel, enter the property values of the record. For contacts, you must fill in the First name and Last name fields or the Email field to edit additional fields.
Please note: it's recommended to add contacts to the CRM with an email address because HubSpot uses the email address to deduplicate contacts and automatically associate contacts with companies.
- If desired, configure additional settings:
- If you've turned on data privacy settings in your account, select options that indicate the legal basis for processing the contact's data.
- If your account has marketing contacts, select the Set this contact as a marketing contact checkbox to set the contact as Marketing. If you don't select this while creating the contact, you can set the contact as marketing later.
- Click Create.
Create records on the board view
- Navigate to your records (e.g., In your HubSpot account, click More, then navigate to CRM > Deals. If More doesn't appear in your account, navigate to CRM > Deals directly.).
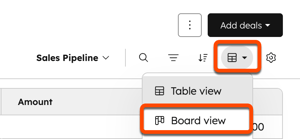
- In the upper right, click the view type dropdown menu and select Board view.
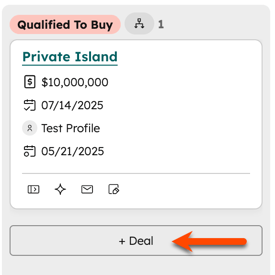
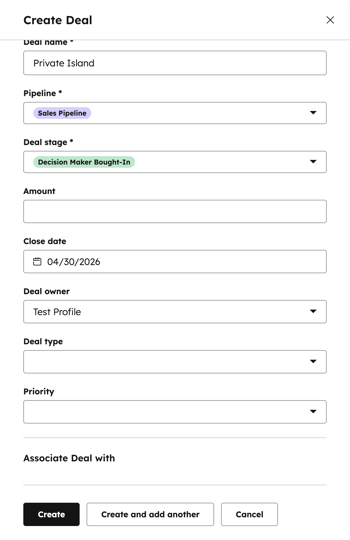
- Hover on the stage you want to create a record in, then click Create [record].
- In the panel, enter property values for the record. By default, the Pipeline and [Record]Stage or Ticket Status properties are automatically entered.
- If desired, configure additional settings:
- In the Associate [record] with section, search for and select existing records you want the new record to be related to. To customize the associations that appear, click Edit this form at the top.
- If you created a deal, click the Add a line item dropdown menu and search for a line item. Learn more about using line items with deals.
- Depending on the record, select the Add timeline activity checkbox to add existing logged activities from the associated record to the new record. Learn more about logging activities.
- Click Create.
Next steps
Depending on the object, there are other ways to create records in HubSpot:
- Import: bulk create records from a spreadsheet. Learn more about how to import records.
- Form submission: when a new visitor fills in and submits a HubSpot form, a contact record for their email address will be created in HubSpot automatically. Depending on the form configuration, companies will be created, too.
- HubSpot chrome extension: when a user sends a tracked and logged email to a prospect, a contact is created automatically.
- Integration app: install apps from the HubSpot marketplace to create records from other systems.
