- Knowledge Base
- Reporting & Data
- Reports
- Analyze and manage events with the legacy events tool
Analyze and manage events with the legacy events tool
Last updated: February 18, 2025
Available with any of the following subscriptions, except where noted:
-
Marketing Hub Enterprise
Learn how to analyze and manage legacy events. While new events can only be created in the new custom events tool, any existing events will continue to work. You can also still manage legacy events and create event funnel reports to analyze their performance.
Please note:
- Legacy events cannot be migrated to the new events tool. Instead, it's recommended to recreate your legacy events in the new tool, as new custom events provide more flexibility with event properties. For example, with legacy events you'd need to create multiple events to track separate campaigns, but now a single custom event can track multiple campaigns.
- From August 1st, 2025, customers using Legacy behavioral events can no longer create new event definitions or send new completion data. Customers should instead use custom events to track activity from their website or app
Learn more about analyzing events created in the new custom events tool.
Analyze legacy event completions
- In your HubSpot account, navigate to Reporting > Data Management > Custom events.
- To create a funnel report, click Create report in the upper right. Then, click Funnels.You'll then be brought to the funnel report builder where you can build a funnel report.
- To view completion metrics for your events, click the Analyze tab.
- To filter the data for a specific time range and frequency, click the Date range and Frequency dropdown menus.
- If you select a rolling date range, the data set will exclude the current day.
- A week in the report starts on Sunday by default, when the date range selected consists of a week, or when the frequency is set to Weekly.
- To filter the data by tag, click the Tag dropdown menu and select the tag.
- To export your legacy events:
- In the upper right, click Export.
- In the dialog box, enter a name for the export, then select the file type from the File format dropdown menu.
- Click Export.
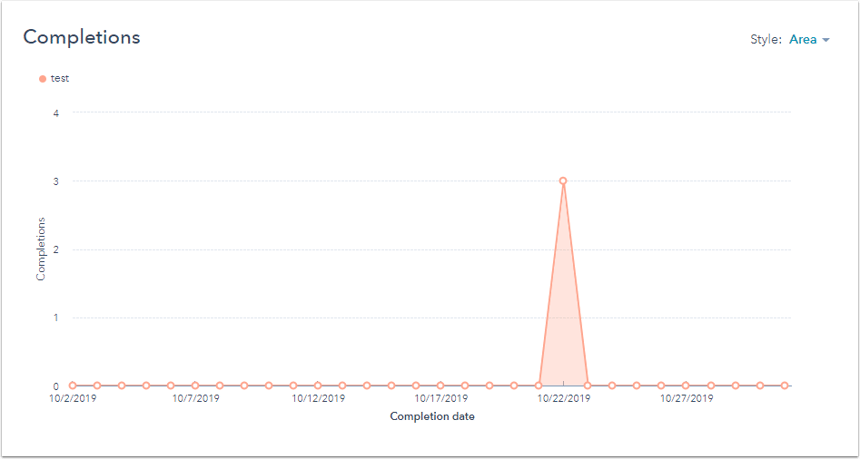
On the Analyze tab, event completions will be shown in both chart and table format.
Chart
The chart shows the completions of the tags in the date range and frequency that you've selected.
- In the upper right of the chart, click the Style dropdown menu and select the style of chart for your analysis.
- To view data for specific events in the chart, select the checkboxes next to those events in the table below.

Table
The table shows you the completions and create date of each event. To sort the data in the table, click the corresponding column header.

To view the activity log for a specific event, hover over the event in the table, then click Activity log.
Manage legacy events
- In your HubSpot account, navigate to Reporting > Data Management > Custom events.
- Click Events (legacy) toggle. You'll then be brought to the Manage tab of the legacy events page.
- To delete events, select the checkboxes next to the events you want to delete, then click Delete.
- When you've created events, only approved events will record completions.
- To bulk dismiss approved events:
- In the left sidebar menu, click Approved and select the events to dismiss.
- At the top of the table, click Delete. These events will be dismissed and go to the Rejected tab.
- To bulk approve or dismiss events:
- In the left sidebar menu, click Unexpected events. Unexpected events are generally custom events when you create a custom event over the custom event limit.
- Select the checkboxes next to the events you want to approve or dismiss
- At the top of the table, click Approve to move them to the Approved category, or Dismiss to move them to the Rejected category.
- To bulk recover dismissed events:
- In the left sidebar menu, click Rejected and select the checkboxes next to the events you want to recover.
- At the top of the table, click Recover and these events will be moved to the Approved category.
- To bulk dismiss approved events:
You can create events, delete approved events, approve or dismiss unexpected events, and recover dismissed events, in bulk up to 25 events.