- Knowledge Base
- CRM
- Inbox
- Organize conversations into custom views in the inbox
Organize conversations into custom views in the inbox
Last updated: October 31, 2025
Available with any of the following subscriptions, except where noted:
-
Marketing Hub Professional, Enterprise
-
Sales Hub Professional, Enterprise
-
Service Hub Professional, Enterprise
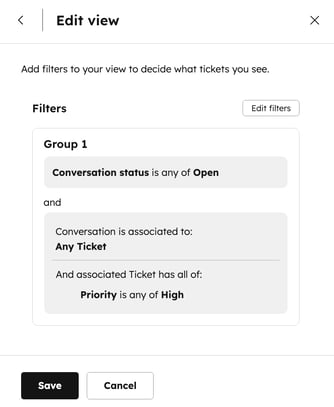
You can filter conversations into views to help your team prioritize and effectively manage customer communications in the inbox. For example, create a view of all of the conversations associated with high priority tickets so your team knows to focus their efforts on those conversations.
Please note: accounts created after April 1st, 2024 cannot create custom views based on ticket properties in the conversations inbox.
Create custom views
Permissions required Custom views access is required to create, edit, or delete views.
Create custom views to help your team manage customer communications.
- In your HubSpot account, navigate to CRM > Inbox.
- In the bottom left, click the Actions dropdown menu, then select Create a view.
- In the right panel, enter a name for the view in the Name field, then click Next.
- In the Filter type section, select a filter option. You can filter by the default ticket or conversations properties, as well as custom ticket properties.
- Please note: you cannot filter by the following properties: Chatflow, Inbox, Source URL, Thread ID, First agent email response date, Source, andTime to first agent reply.
- Click Next.
- Search for and select a property you want to filter your conversations by, then select an option to set criteria based on that property. Click Apply filter.
- To add more filter criteria or refine the existing criteria, click AND or OR. Learn more about using AND or OR logic.
- Click Save.

Depending on your data, it can take a few hours for the view to be added to your inbox. When the new view is successfully created, conversations that meet the criteria will appear in that view. Other team members in the inbox will also be able to access the views.

Manage views
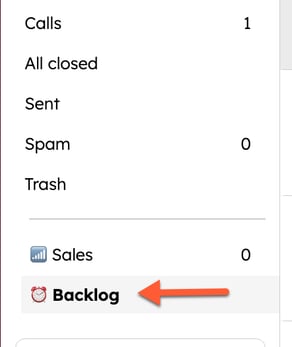
All of your custom and standard HubSpot views will appear in the sidebar in the inbox. The following views are standard and cannot be removed:
- Unassigned
- Assigned to me
- All open
- Chat
- Bots
- Messenger
- Forms
- All closed
- Sent
- Spam
- Trash
The Unassigned, Assigned to me, All open, and Chat views will always appear. To access the other standard views, click More.
Please note: if you send an email to a contact from the inbox, that sent email will not appear in the All open view until the recipient responds to the email.
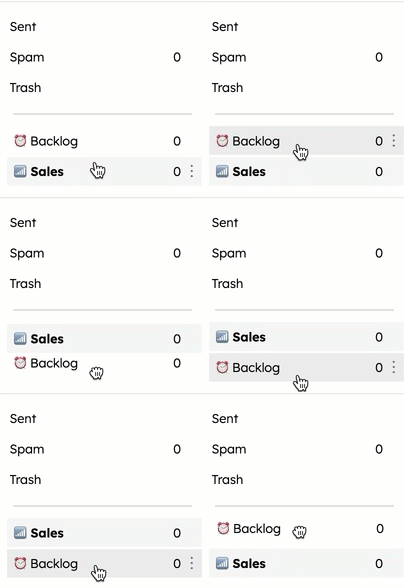
To rearrange the order of the custom views, click and drag the view to a different position.

You can also edit an existing custom view's name or filter criteria.
- To edit an existing view:
- In the left sidebar in the inbox, hover over the view and click theverticalMenu menu icon, then select Edit view.
- Make any changes to the view name.
- To edit the filter criteria, click Edit next to the list of filters.
- Click Save.
- To delete a view:
-
- In the left sidebar in the inbox, hover over the view and click theverticalMenu menu icon, then select Delete view.
- In the dialog box, select the I'm sure that I want to delete this view checkbox, then click Delete. Deleting a view does not delete the conversations in the view.