Last updated: December 29, 2025
Available with any of the following subscriptions, except where noted:
-
 Marketing Hub
Enterprise
Marketing Hub
Enterprise
-
 Sales Hub
Enterprise
Sales Hub
Enterprise
-
 Service Hub
Enterprise
Service Hub
Enterprise
-
 Data Hub
Enterprise
Data Hub
Enterprise
-
 Content Hub
Enterprise
Content Hub
Enterprise
-
 Commerce Hub
Enterprise
Commerce Hub
Enterprise
Track when object values change and use the data in lists, workflows and reporting. This is useful for building audit trails, such as tracking record verifications.
For example, imagine you're maintaining a CRM where contacts must be "Verified" before they are assigned to Sales. By tracking the is_verified property, you can automatically capture who verified the record and exactly when it happened without manual data entry.
Requirements & Limitations
When creating property change events, the below limits apply:
- You can create up to 25 property change events per account.
- Property change events count towards the total events occurrence limit of 30M per month.
- Property change events are not recoverable after reaching the 30M limit.
Create a property change event
A property change event can be created via Property settings or Custom Events.
Property Settings
- In your HubSpot account, click the settings icon in the top navigation bar.
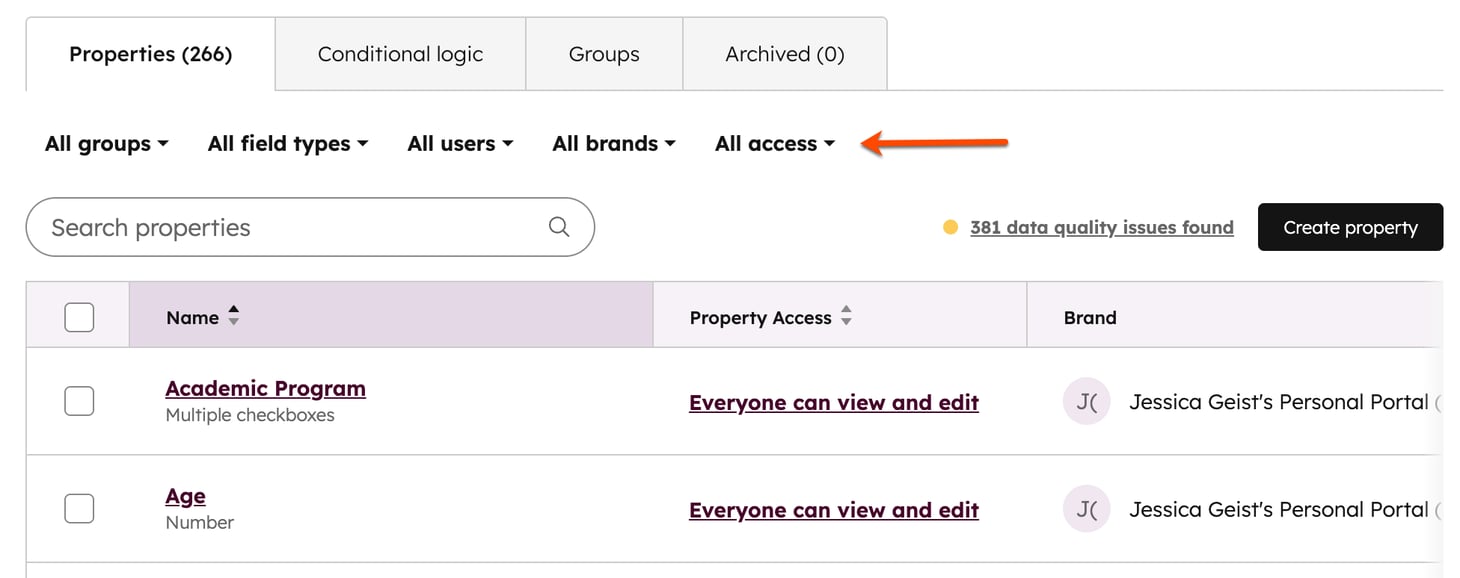
- In the left sidebar, navigate to Properties.
- Click the Select an object dropdown menu, then select [Object] properties to track changes for a property for that object.
- In the upper left, use the dropdown menus to filter by property group (e.g.,
is_verified), field type, or which user created the property. Or, enter the name of a property in the search box to find a specific property.
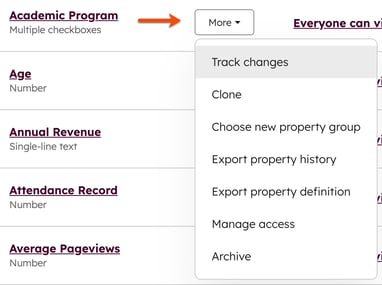
- Hover over a property, and click More. Then, select Track changes.
- Select an operator. The operator determines when the property value change should be tracked. Once the property and operator are selected, you'll receive information on how frequently the property is updated every month. All property change events count toward your monthly event occurrence limits.
- Click Create event.
Custom Events
- In your HubSpot account, navigate to Data Management > Event Management.
- In the top right, click Create an event, then click Create custom event.
- Select Track object changes.
- Click Next.
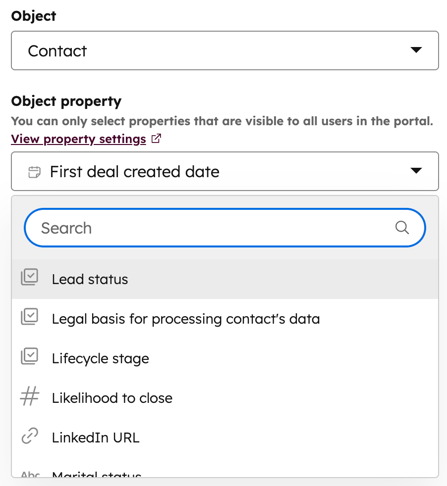
- Click the dropdown menus to select which Object and Object property to track. When the property value changes, it'll trigger the change event.
- Select an operator. The operator determines when the property value change should be tracked. Once the property and operator are selected, you'll receive information on how frequently the property is updated every month. All property change events count toward your monthly event occurence limits.
- Click Next.
- Enter an Event name and Description (optional).
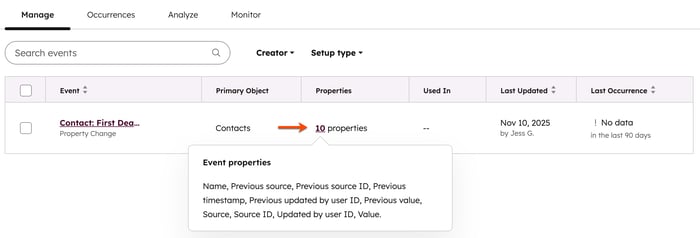
- The default event properties will be created for the event.
Use case: Implementation of property change event
Once you've created a property change event for is_verified, you can choose between a No-Code Method or a Custom-Coded Method to stamp the editor's details.
No-Code Method
After creating the event:
- In your HubSpot account, navigate to Data Management > Event Management.
- Hover over the event. Click Actions, then select Use in. From the dropdown menu, select Reporting. HubSpot automatically captures:
- Timestamp: when the value changed
- Initiator: the specific user or integration that made the change.
Custom-Coded Method
If you need to store the editor's name directly on the Contact record for use in external integrations, use a Custom Coded Action in a workflow.
- Convert your timestamp property: Standard HubSpot date properties only support midnight timestamps. To support precise minutes/seconds, update your
verified_atproperty via API:

- Use the Workflow Code: Enroll contacts when
is_verifiedis modified. Use this script to fetch theupdatedByUserIdfrom the property history and stamp theverified_by_owner_id.

Use property change events data
The default properties generated after a property change event is created can be used across lists, workflows, and reporting.
- In your HubSpot account, navigate to Data Management > Event Management.
- Hover over the event, and click Actions. Then, select Use in. From the options, select the tool you want to use the event data in.
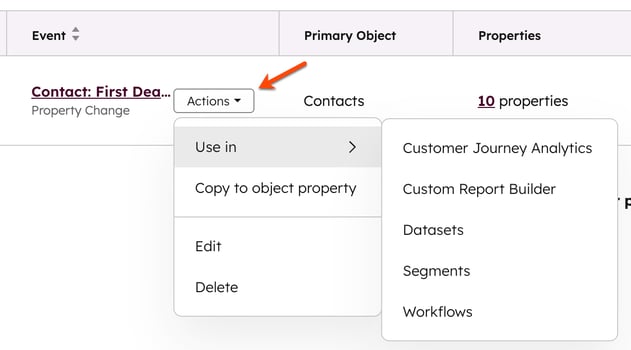
- You'll be redirected to the selected tool where you can configure your setup.
