Last updated: August 10, 2023
Available with any of the following subscriptions, except where noted:
|
|
From a form’s Automation tab, you can select what happens after a form is submitted. Turn on simple automation features such as sending a follow-up email to a contact or sending automatic internal email notifications to other HubSpot users. You can also use the form submission as a trigger in a simple workflow.
To set up your form’s automation:
- In your HubSpot account, navigate to Marketing > Forms.
- Click the name of an existing form, and click Edit to add follow-up emails, or create a new form.
- In the forms editor, click the Automation tab.
Create a simple workflow
Set up a simple workflow from the form editor to automate follow-up actions such as sending an email or creating a task. When creating a simple workflow:
- By default, the simple workflow's enrollment trigger will be set to the form submission. This enrollment trigger cannot be changed.
- Contacts are enrolled in the simple workflow each time the form is submitted, even if they have enrolled before.
To create a simple workflow:
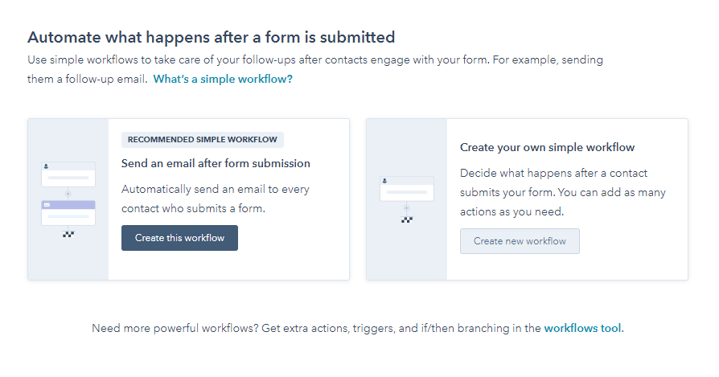
- In the Automate what happens after a form is submitted section:
- To automatically trigger a follow-up email after each form submission, under Send an email after form submission, click Create this workflow.
- To create your own workflow from a blank template, under Create your own simple workflow, click Create new workflow. In the right slide-in panel, under Trigger the action(s) when, select the option A contact submitted a form.
- To add other workflow actions, click the + plus icon.
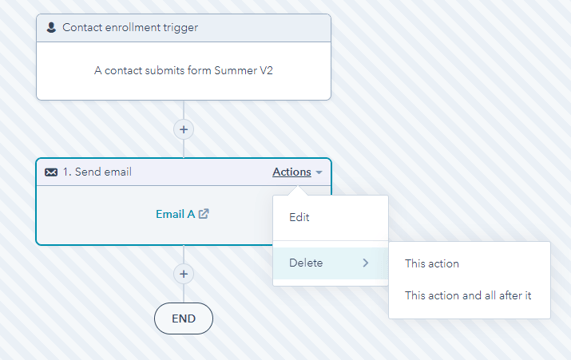
- To edit an action, on the workflow action, click Actions > Edit.
- To delete workflow actions, on the workflow action, click Actions > Delete. You can select This action to delete only the selected action, or select This action and all after it to delete the selected action and all following actions.
- To leave a note on a workflow action for you or your team's reference, hover over the action and click the comments icon. Learn how to add comments to workflow actions.
- To change a workflow’s name, at the workflow header, click the pencil icon.
- To delete a workflow, at the workflow header, click Actions > Delete workflow.
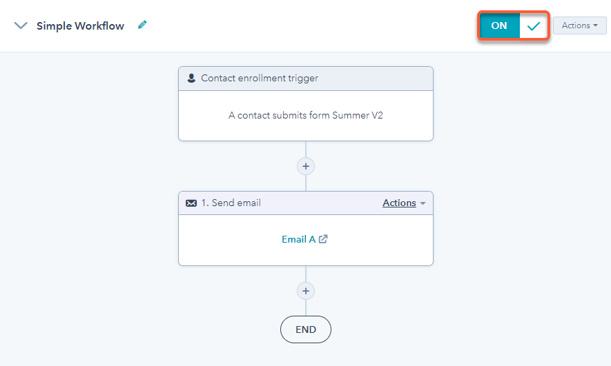
- To turn on a workflow, next to the workflow name, click to toggle the switch on. Then, click Got it. After publishing your simple workflow, any changes made to the workflow will automatically apply to currently enrolled contacts.
Please note: the number of simple workflows you can create, the number of actions, and the type of actions you can add depends on your subscription:
- Accounts that do not have a Marketing Hub subscription will only be able to create a Send an email after form submission simple workflow.
- In a Marketing Hub Starter account, you can add up to 10 actions in a simple workflow and create one simple workflow per form.
- In a Marketing Hub Professional or Enterprise account, you can add as many actions as you need to your simple workflow and add multiple simple workflows per form.
If you need to create more workflows or add more actions and have a Marketing Hub Professional or Enterprise subscription, build custom workflows in the workflows tool.
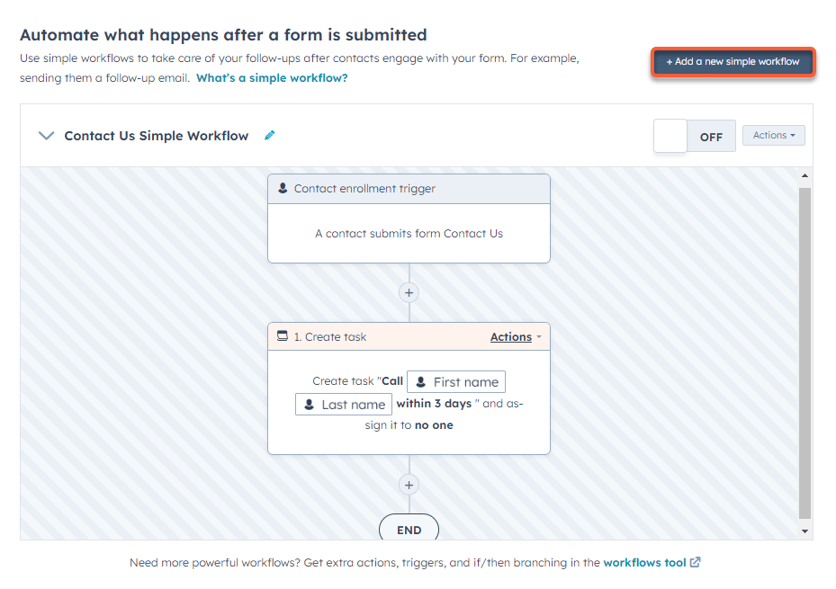
Add another simple workflow
If you want to add another simple workflow to your form:
- In the top right, click + Add a new simple workflow.
- In the right panel, under Trigger the action(s) when, select the A contact submitted a form option.
- Click Create, then set up your workflow.