Last updated: September 10, 2026
Available with any of the following subscriptions, except where noted:
-
 Revenue Hub
Professional, Enterprise
Revenue Hub
Professional, Enterprise
Seats required Users in a Revenue Hub core seat or Revenue Hub seat can set up and configure a billing portal for buyers.
Set up a billing portal for buyers to self-serve their billing requests, removing manual processes for buyers and merchants. Buyers can log in to the portal and manage subscriptions, invoices, and payment methods.
Before you get started
Understand limitations and considerations
- You can still set up a portal if you aren't using HubSpot payments or Stripe as your payment processing option. To allow customers to pay invoices through the portal, set up HubSpot payments or Stripe as a payment processing option. Otherwise, customers can view invoices in the portal.
- The email address and phone number from your public business information settings are displayed at the bottom of the portal.

Set up the billing portal
Set up the portal that buyers will use. Configure the portal name, domain, URL, and buyer access settings.
- In your HubSpot account, click the
settings icon in the top navigation bar. - In the left sidebar, navigate to Portals.
- Click + Add space.
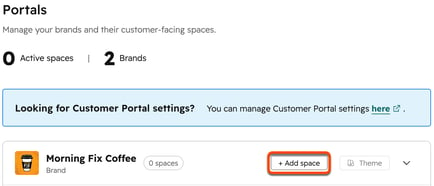
- In the dialog box, click Billing, then click Continue.
- In the Display name field, enter the portal name, as it'll appear to buyers.
- In the Space name field, enter a unique internal name to help you and your team manage the space.
- Click the Domain dropdown menu and select the domain the portal will be hosted on. Learn more about connecting domains.
- In the Slug field, enter the URL path of the portal (e.g., billing).
- Click Create space.
Configure portal settings
After setting up the billing portal, configure portal settings, including how buyers will access the portal and how they can manage their subscriptions. How buyers access the portal depends on your private content settings. Learn more about managing private content settings.
- In your HubSpot account, click the
settings icon in the top navigation bar. - In the left sidebar, navigate to Portals.
- Hover over the portal and click Configure.

- To update how buyers can access the portal, click the Access tab.
- To limit access to the portal to specific contacts, select the Enable access group membership checkbox. Click the Select access group(s) dropdown menu and select an access group. You can add up to five access groups. Learn more about configuring access groups.
- To set up authentication for the portal, click Authentication method. Learn more about setting up SSO for portals.
- To add a consent notice to the portal, click Consent notice. Learn more about setting up consent notices for portals.
- To set up how buyers can manage their subscriptions, click the Capabilities tab and select an option:
- Allow customers to automatically cancel their subscription: customers can cancel their subscription without contacting you.
- Allow customers to request to cancel their subscription: customers can submit cancellation requests for their subscription. Super Admins are notified of cancellation requests.
- Do not allow customers to cancel their subscription: customers can't cancel their subscription. Cancellations can only be made by HubSpot users in the account.
Please note: capability settings only apply to subscriptions, not billing managed by contracts (BETA).
Turn on the billing portal
After setting up and configuring the billing portal, activate it so buyers can access the portal.
- In your HubSpot account, click the
settings icon in the top navigation bar. - In the left sidebar, navigate to Portals.
- Next to the billing portal, toggle the switch on.

- Click Activate in the dialog box.
Buyer experience
Share the portal URL with buyers so they can manage their invoices, subscriptions, and payment methods. After logging in, buyers can view invoices and subscriptions, update the payment method for subscriptions, or pay outstanding invoices.
- Log in to the portal.
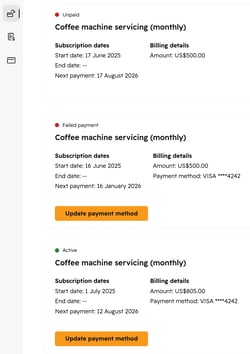
- In the Subscriptions section, view the name, payment status, start and end dates, payment date, and billing information of each subscription. Click Update payment method to update your payment details for a subscription.
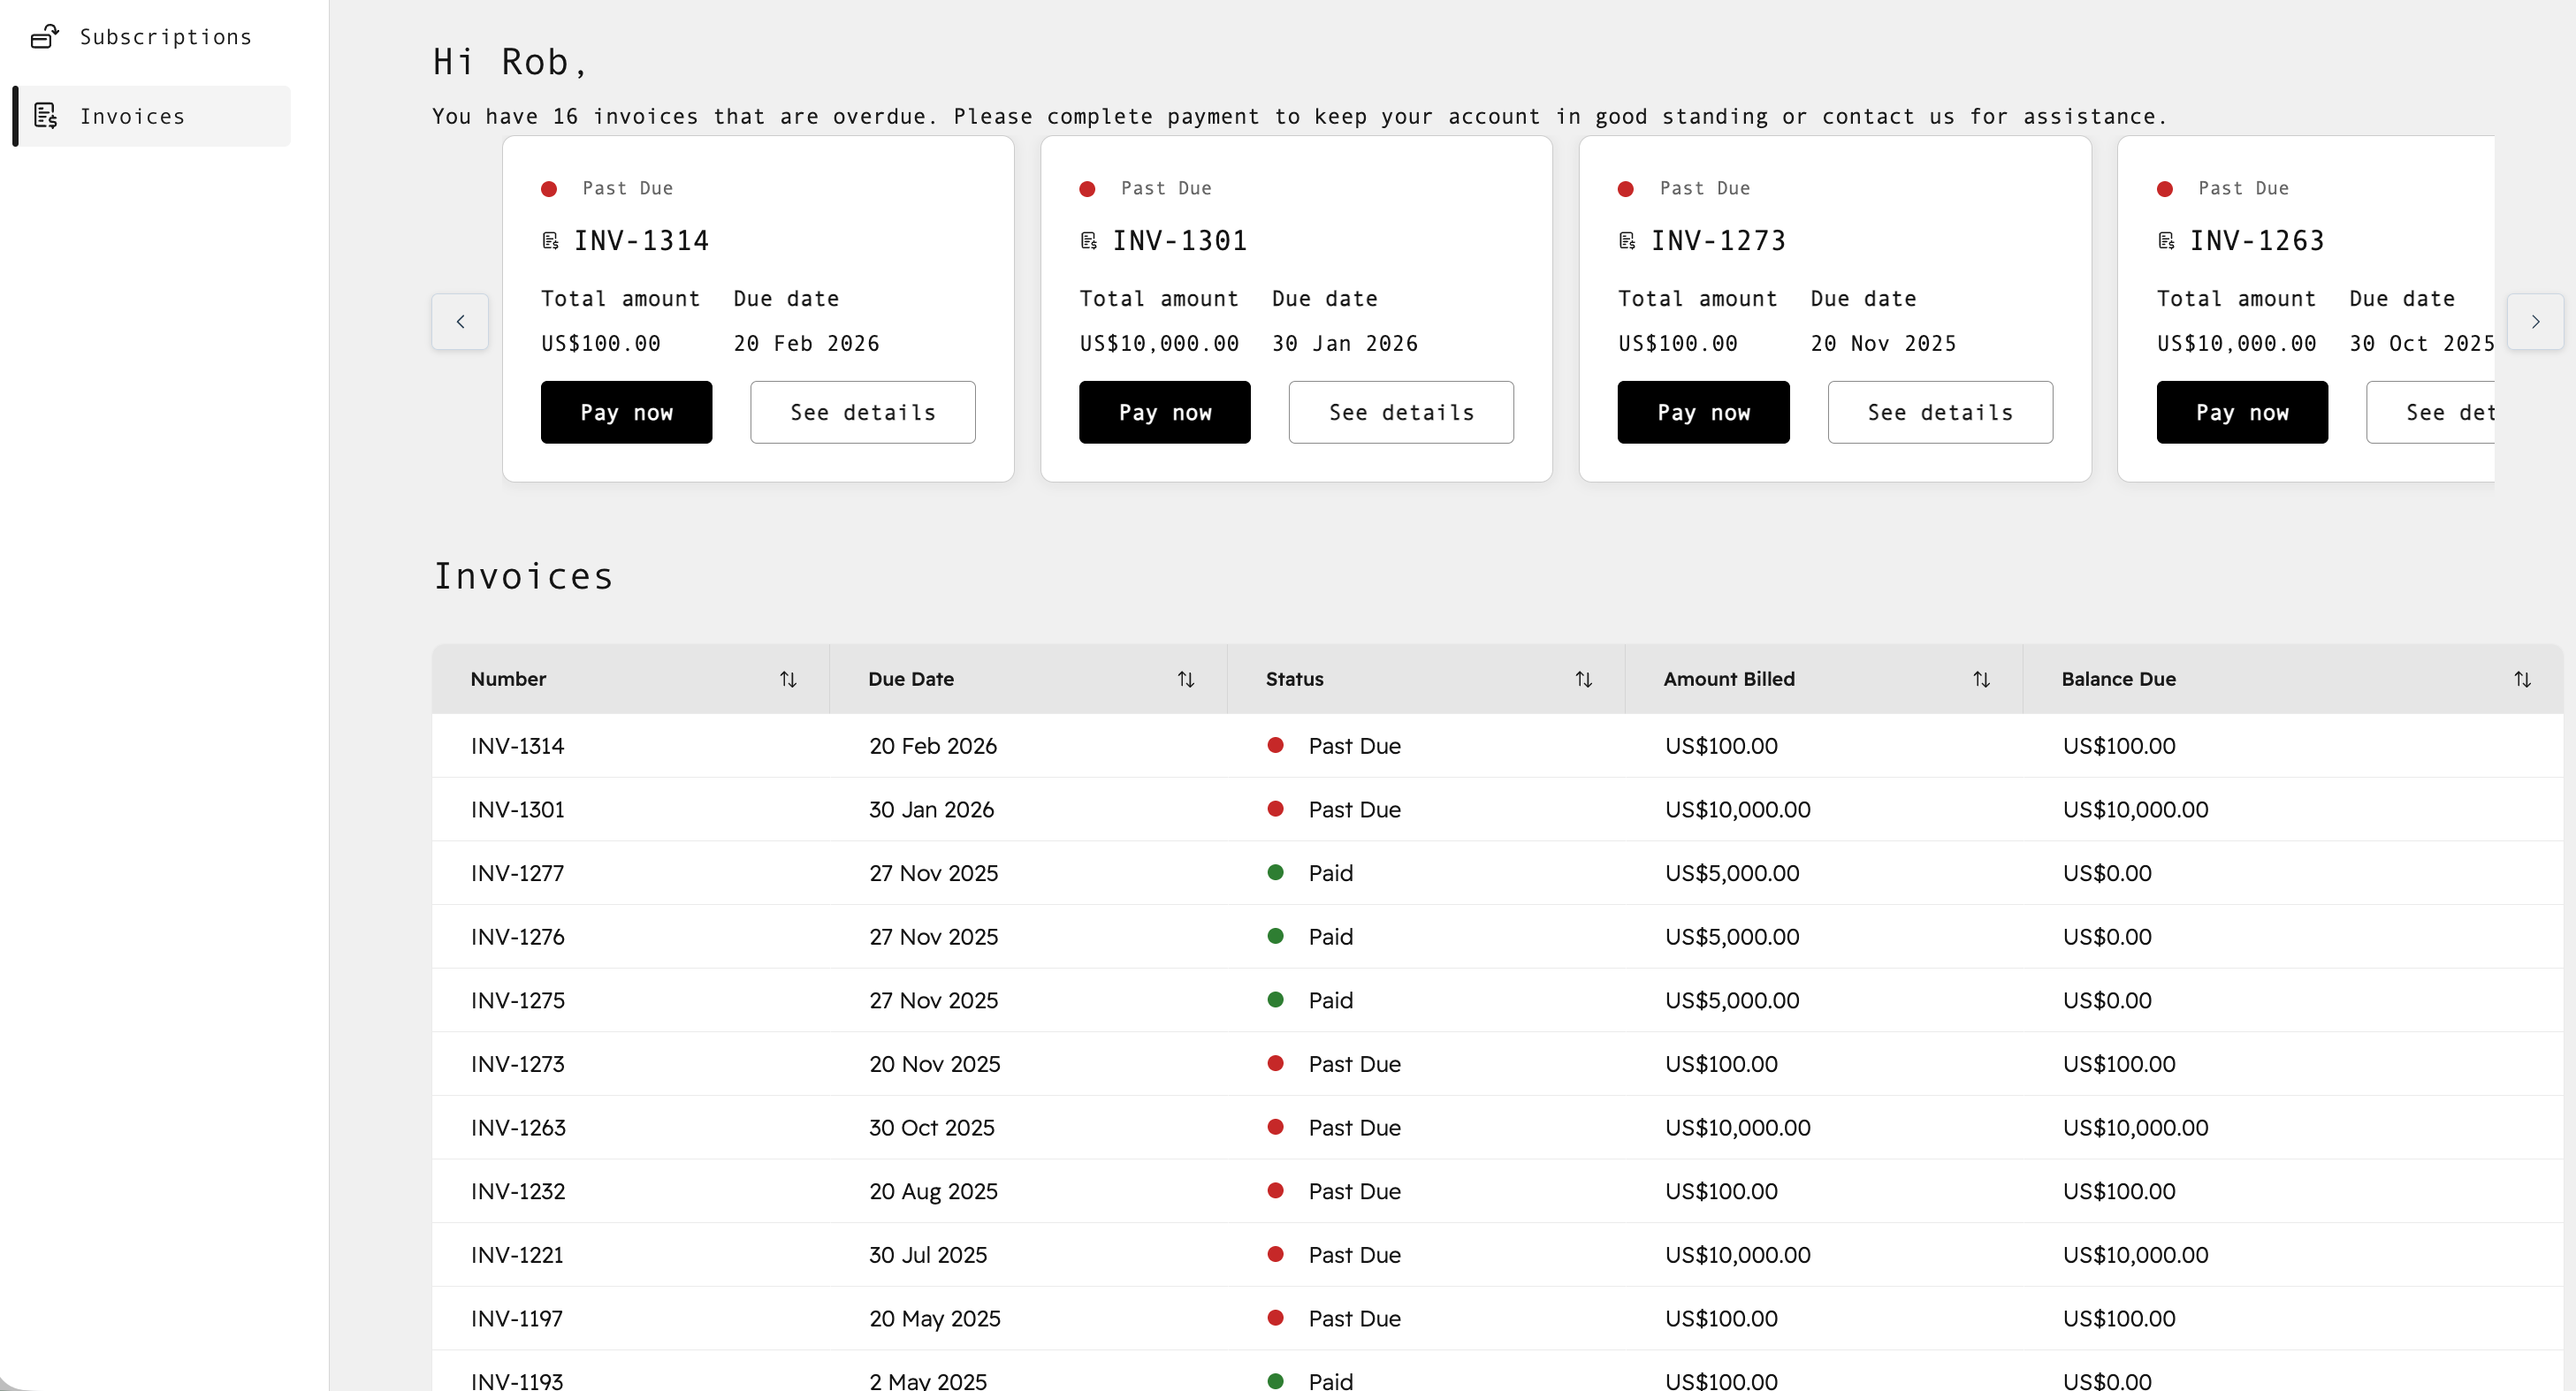
- To manage invoices, click the Invoices icon in the left sidebar.
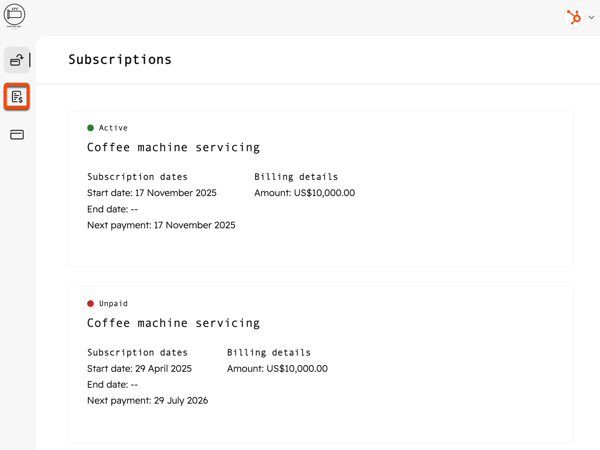
- On the invoices page, view and pay overdue invoices and access past invoices. Overdue invoices will display at the top of the invoices section.
- Click See details to view an invoice.
- Click Pay now to pay an overdue invoice. You'll be directed to checkout to complete payment.
- View past invoices in the invoice table. Click an invoice to open it.
- To manage payment methods, click the Payment methods icon in the left sidebar.
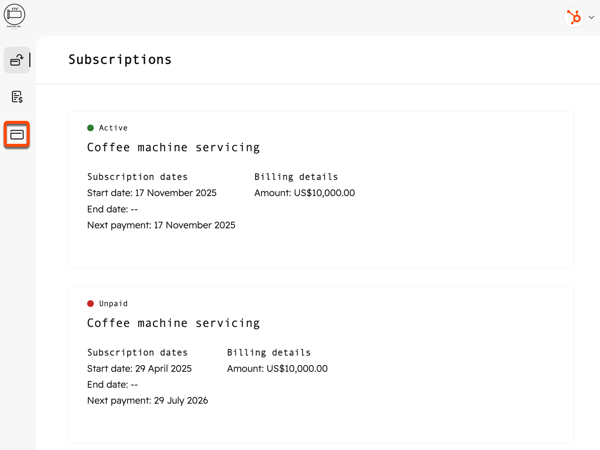
- From the payment methods page, view all stored payment methods. To remove a payment method, click the three horizontal dots icon of a payment method and click Remove stored payment method.

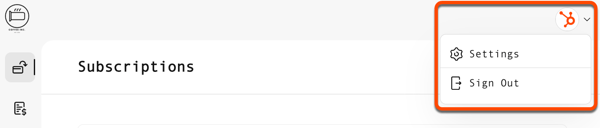
- To view profile and contact details, click the HubSpot icon in the top right, then click Settings. Buyers can't update these details from the portal and should contact the organization that owns the portal to update their information held in HubSpot.
- To sign out, click the HubSpot icon in the top right, then click Sign out.