- Knowledge Base
- CRM
- Inbox
- Overview of the conversations tool
Overview of the conversations tool
Last updated: January 21, 2025
Available with any of the following subscriptions, except where noted:
The HubSpot conversations tool is where you and your team can view, manage, and reply to incoming messages from multiple channels. You can triage messages sent via email address, Facebook, or your website in one unified inbox. You can also create tickets from each conversation to track a visitor's experience with your business.
.png?width=600&height=329&name=Hierarchy%20chart%20-%20MAKE%20A%20COPY%20(2).png)
Depending on your subscription, you can create multiple inboxes for different teams that are using HubSpot. For example, you can create a sales inbox to manage inquiries about pricing and packaging and a customer support inbox for your support team to manage incoming requests.
Set up your conversations inbox
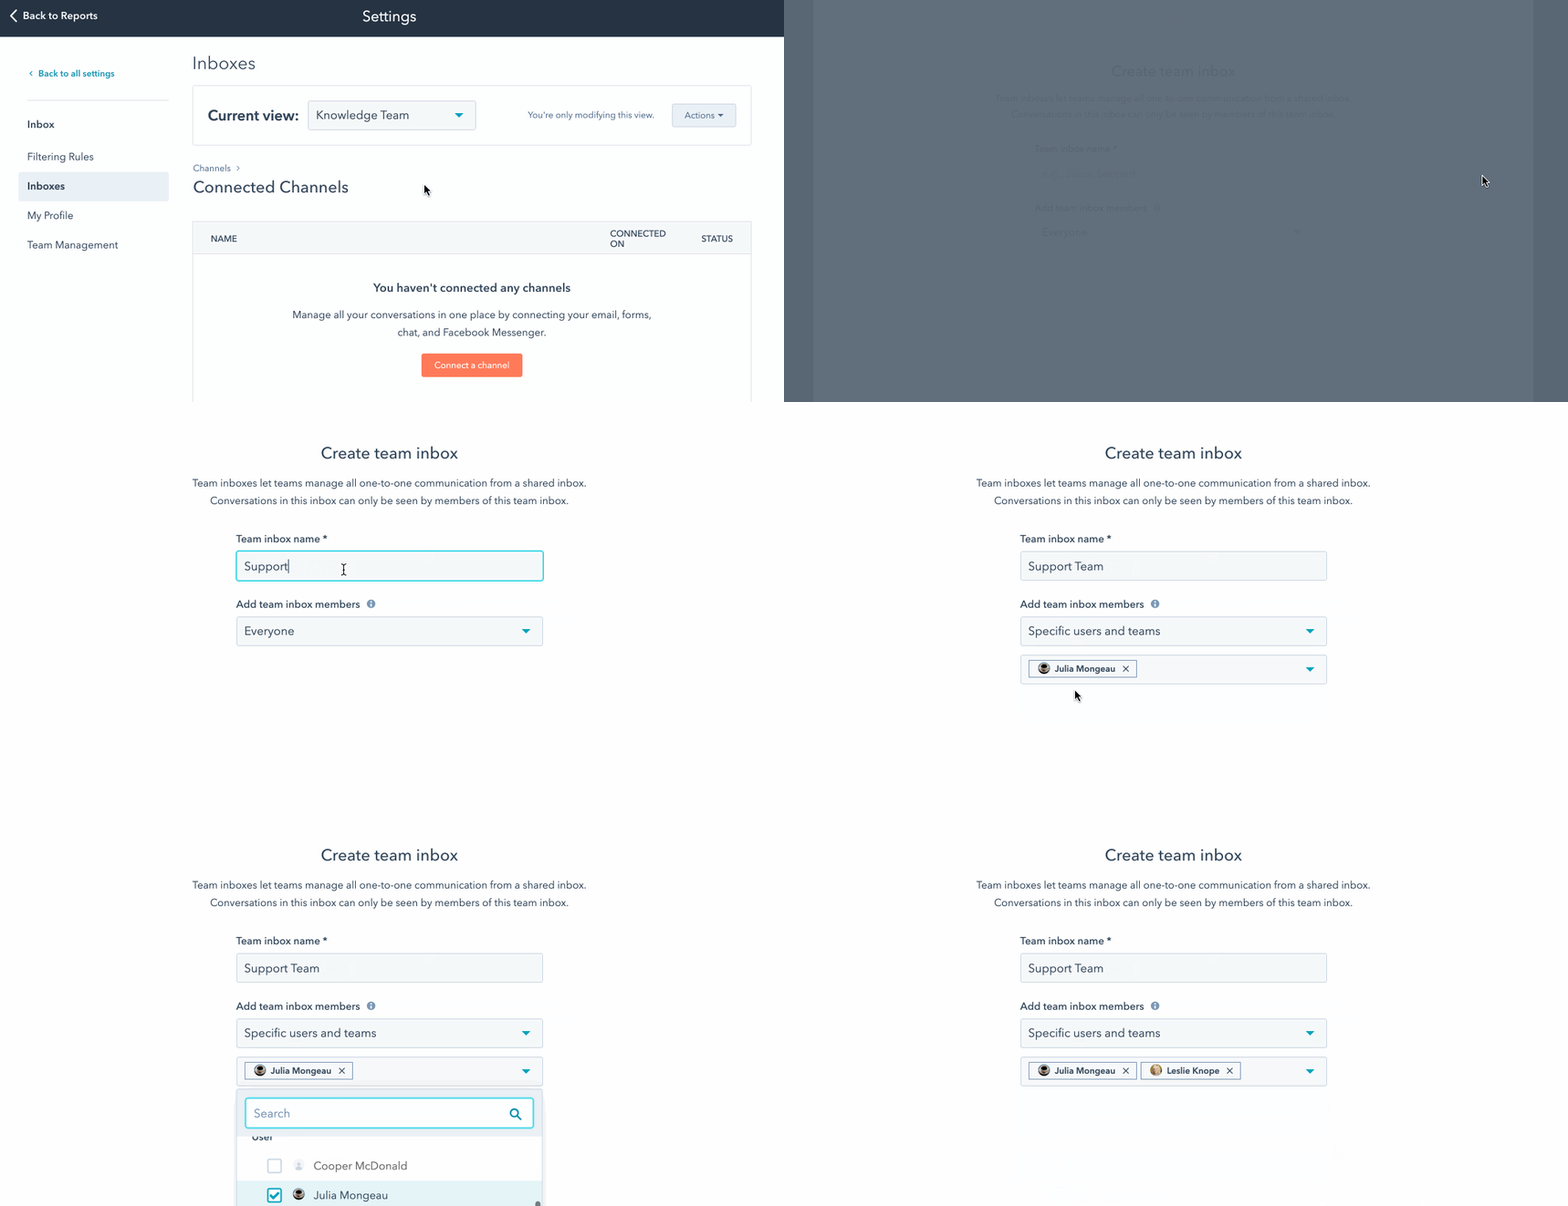
Before you can start communicating with customers in the inbox, you need to set up your conversations inbox. Enter a name for your inbox and add team members. Depending on your HubSpot subscription, you can automatically route incoming conversations to specific users and teams. You can also configure your notification preferences and set up email filters to keep your inbox organized. If you haven't connected a team email yet, HubSpot will automatically create a fallback email address in the inbox that allows you to use certain HubSpot tools, such as ticket automation.

Connect channels to the inbox
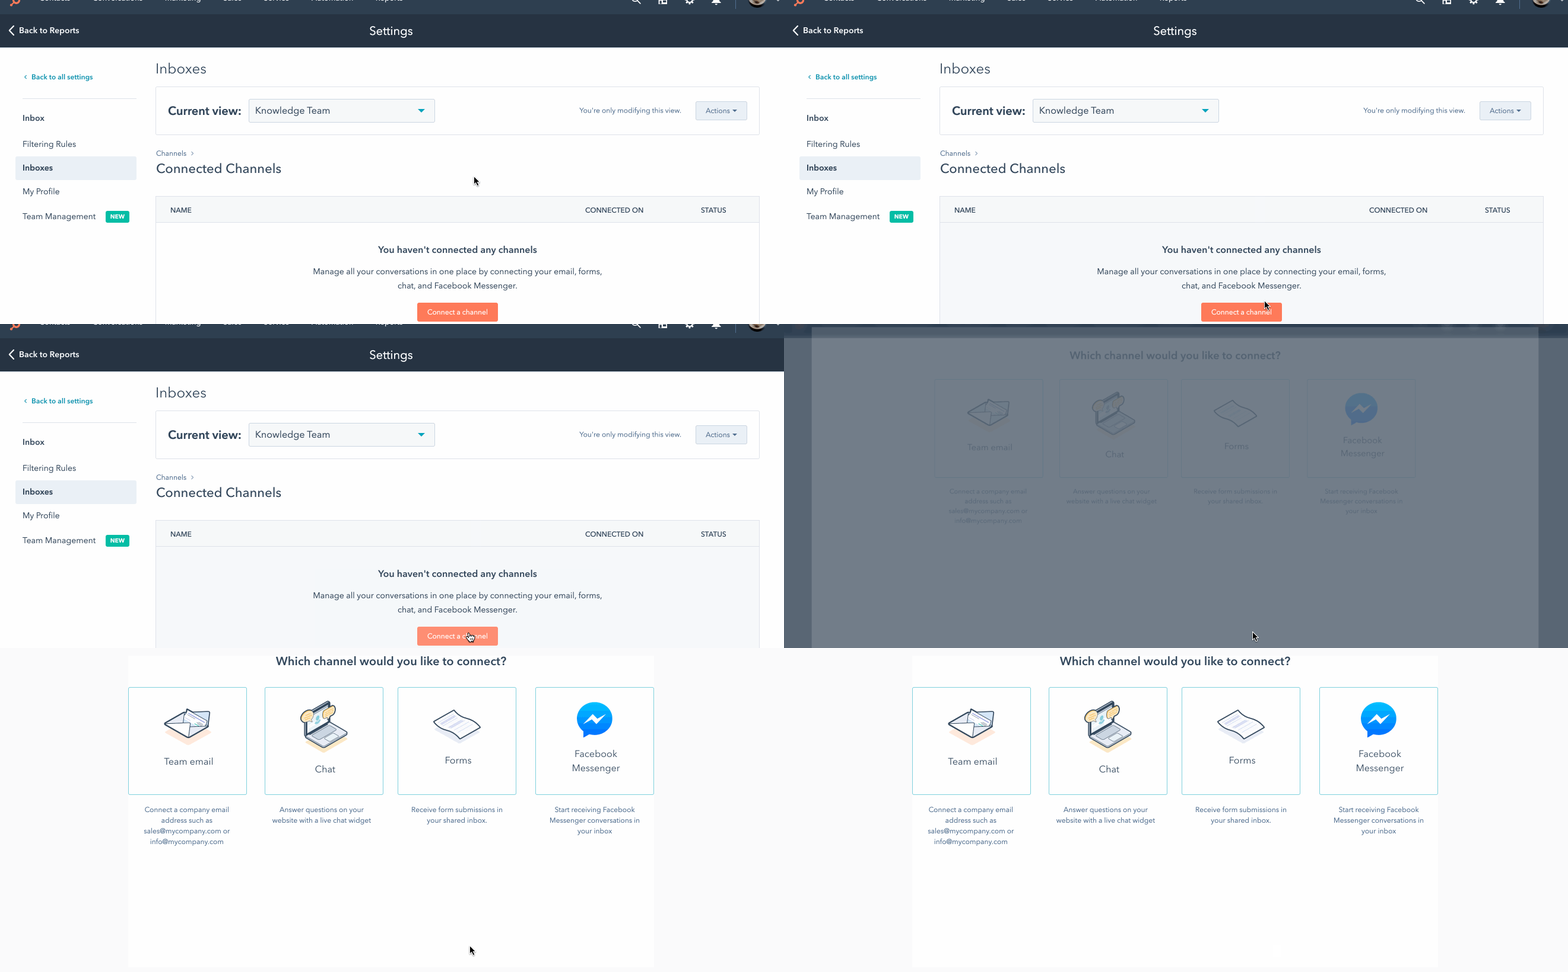
Once you've set up your inbox, you can begin to connect one or more channels. When you connect a channel, new incoming messages will appear in your inbox.
- Connect a team email channel
- Connect a chat channel
- Connect a Facebook Messenger channel
- Connect a form channel

Create your first chatflow
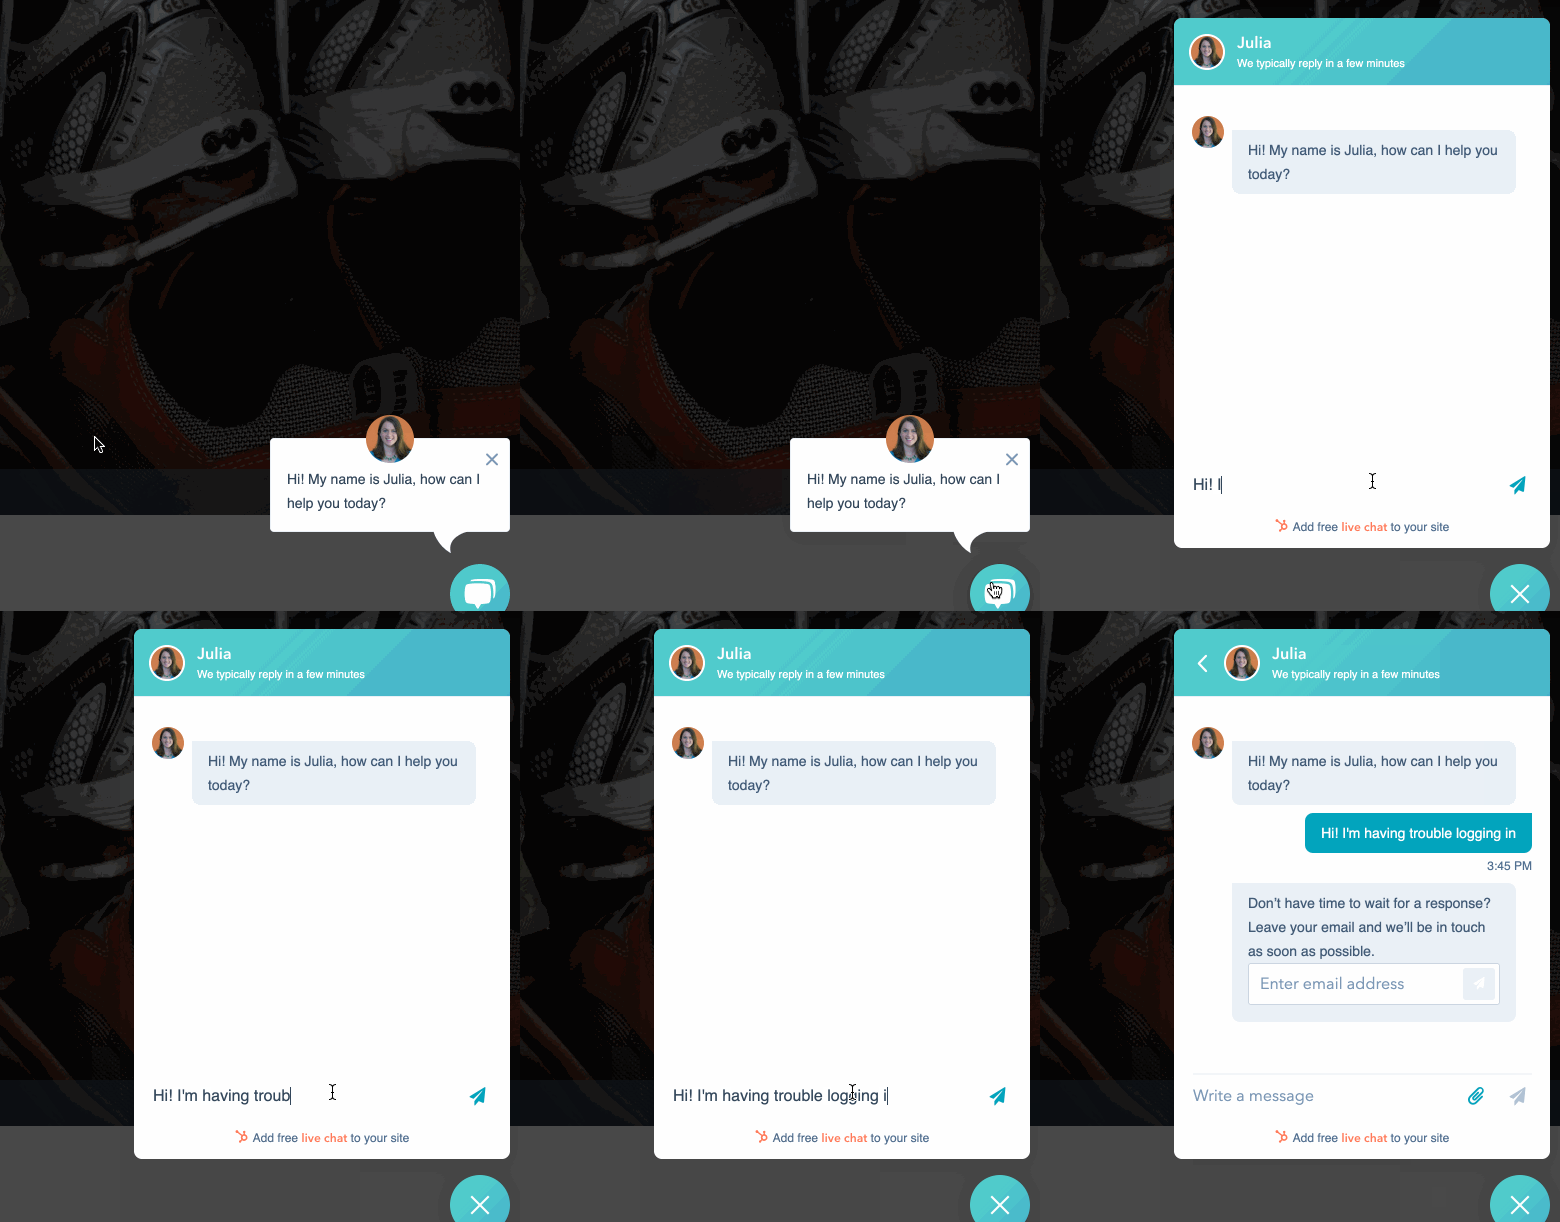
If you've connected a chat channel, you can create chatflows for your website pages. Depending on your goal, you will either create a live chat or a bot. You can use targeting rules so that the chatflow appears on some of your pages or all of your pages. You can also set up your user profile so your avatar, name, and preferred meeting link display when visitors are chatting with you. To add chatflows to website pages that aren't hosted with HubSpot, you must also install the HubSpot tracking code on your external pages.

Using the inbox
When a visitor sends an email, starts a chat, or submits a form, you can reply to them in the inbox. If you're chatting with a visitor who is new to your business, you can create a contact record to add them to your database. If the contact has messaged your team before, you'll see known information about the contact, associated records, and past conversations in the right sidebar. During the conversation, you can add a comment to an ongoing thread or reassign the conversation to another team member.
- Compose and reply to emails in the conversations inbox
- Chat with your website visitors
- Collaborate with your team in the inbox
- Manage tickets in your inbox

Analyze your conversations
After you set up your inbox, you can analyze the conversations taking place in your account. You can determine who is responding to the most conversations, how long it takes your team to respond, and how your individual bots are performing.